
There are different ways to create teams in ActivityTimeline.
For the initial setup, we recommend starting with a simple Classic Team. This makes it easier to understand the main features of the app before moving to more advanced team configuration.
Once you are familiar with the basic planning flow, you can also try Functional Teams, which provide more flexibility by grouping users based on attributes such as skills or positions.
Setup Classic Team
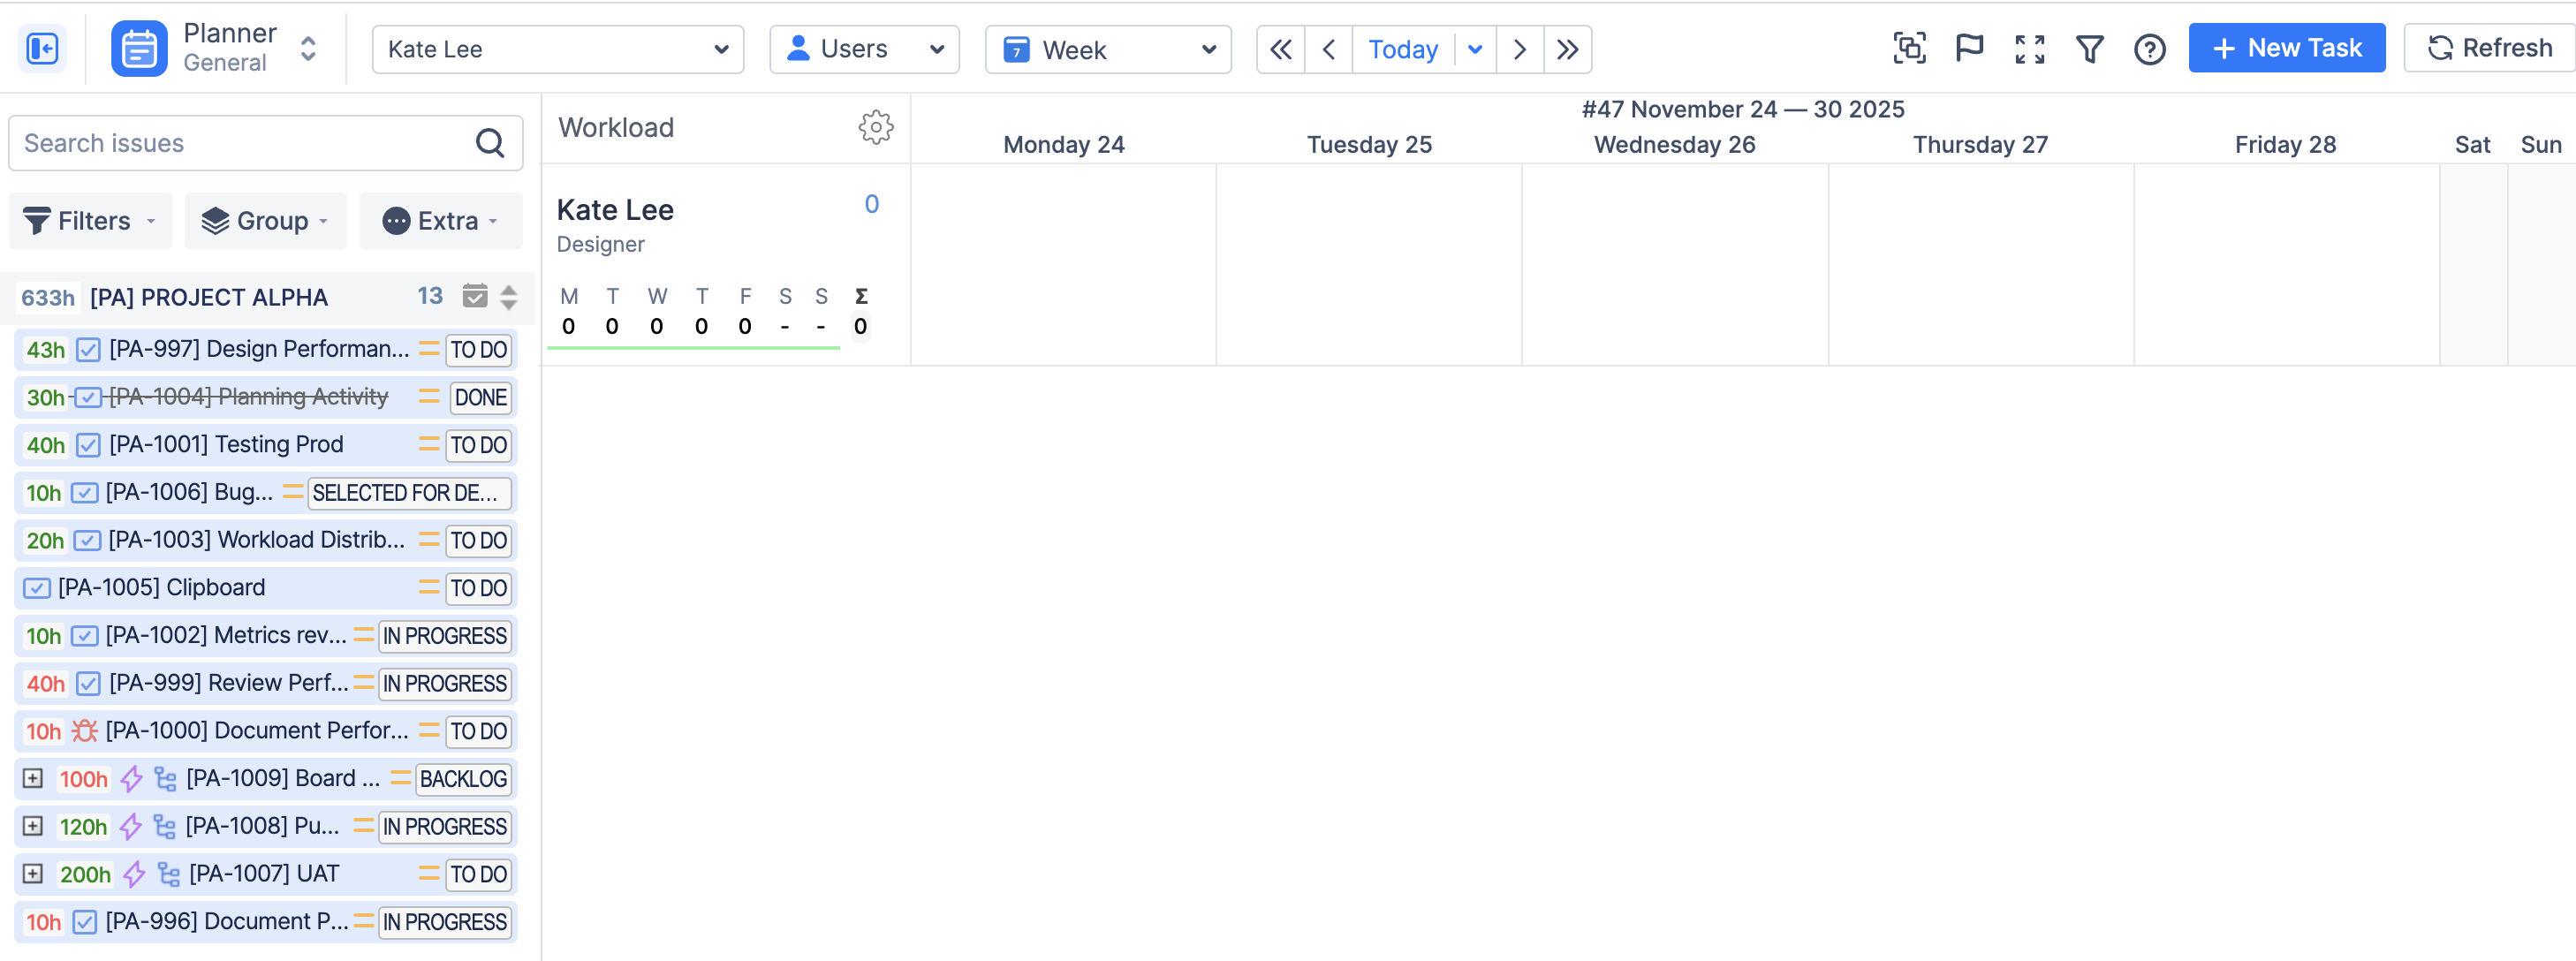
After installing ActivityTimeline and completing the Setup Wizard, you will see your dashboard with users and Jira tasks.
At this point, the best next step is to create your first team.
Go to:
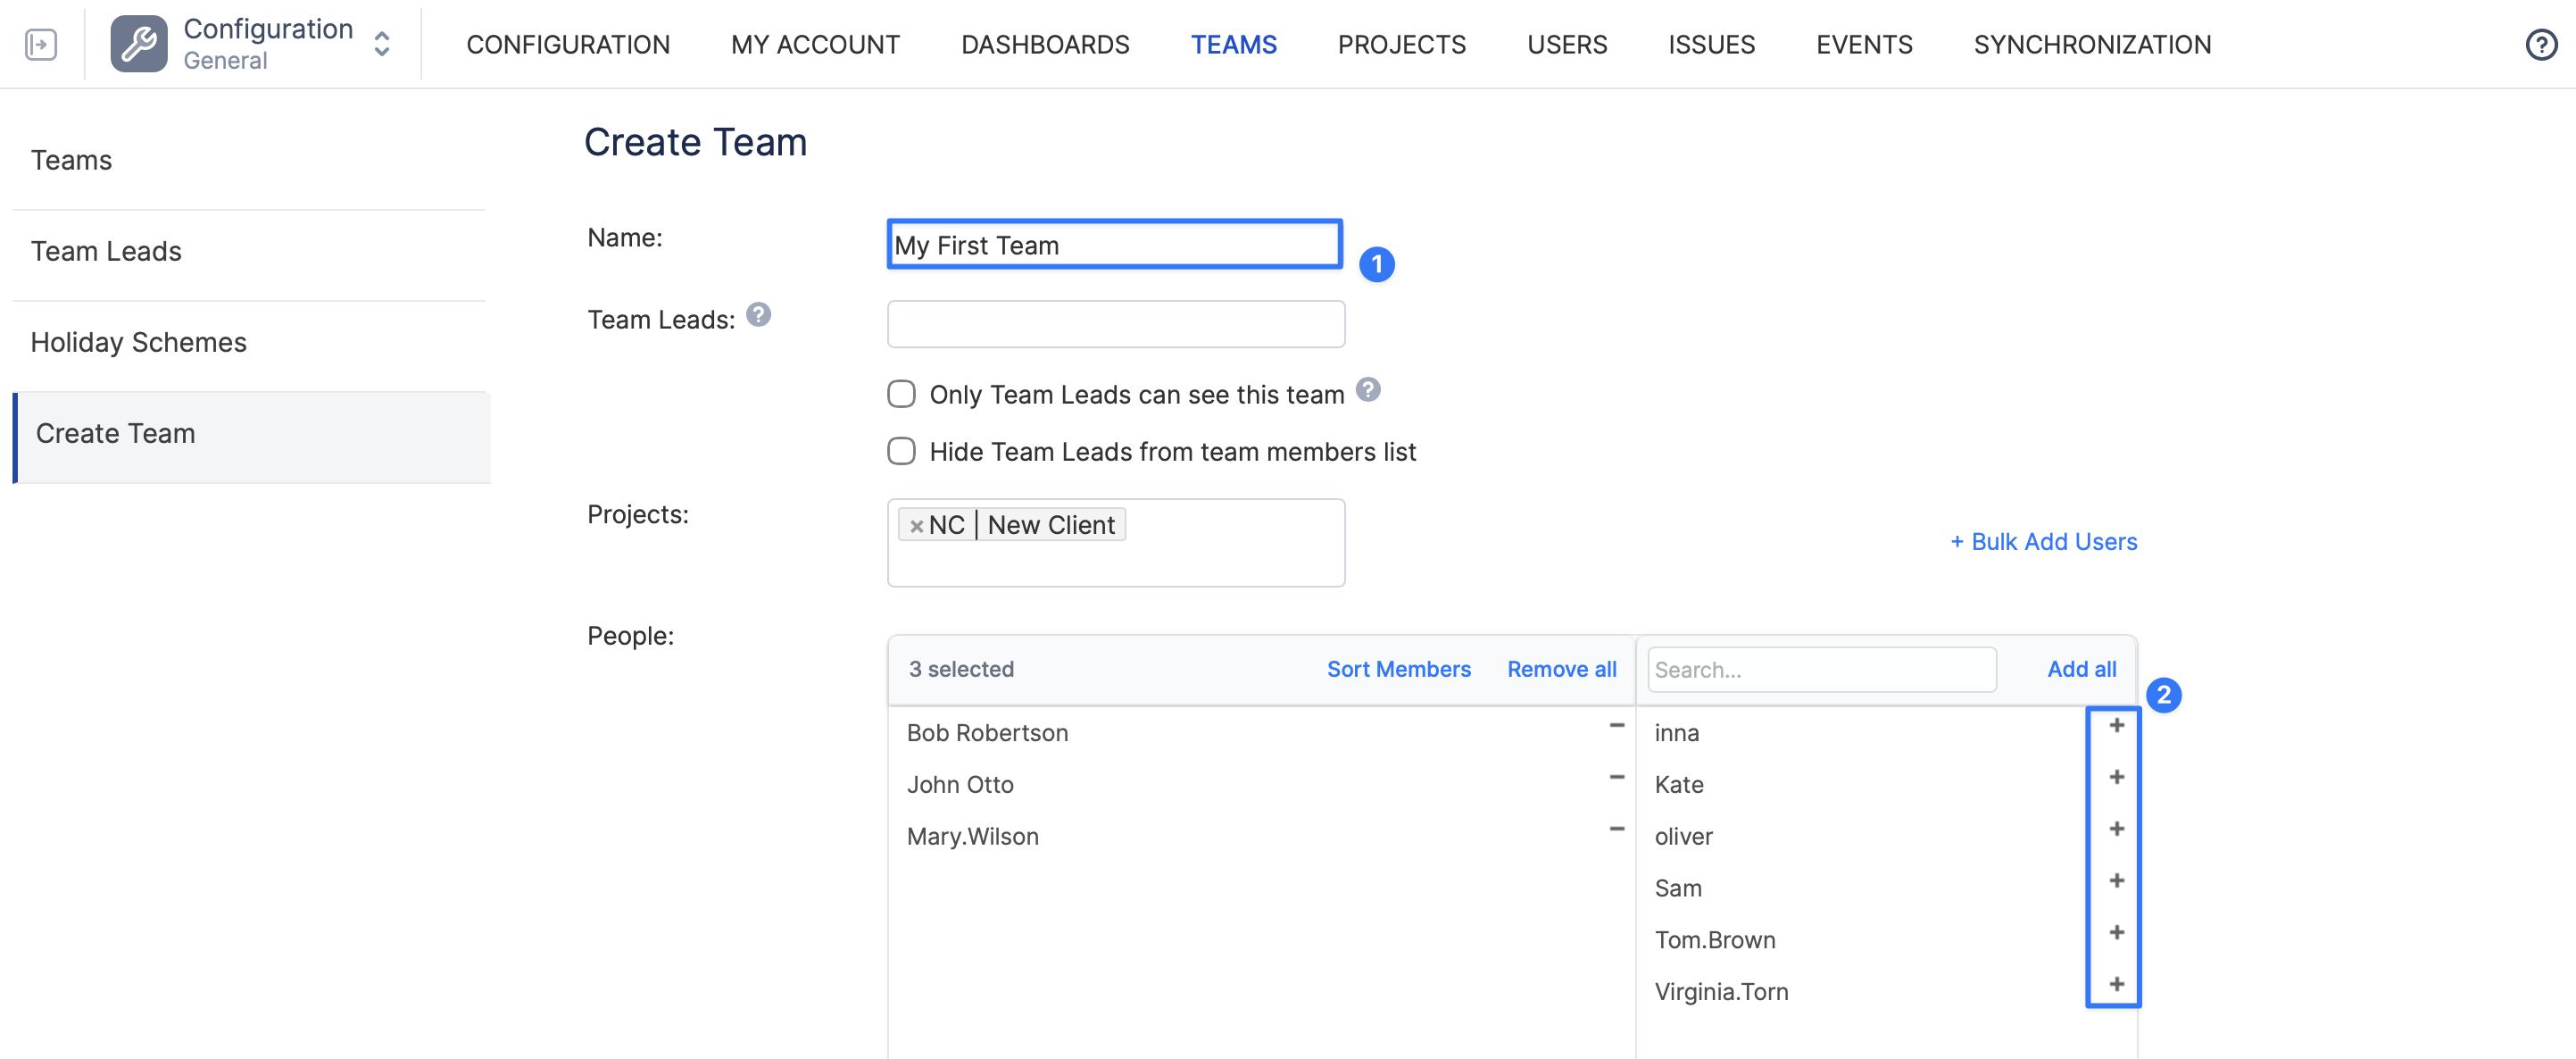
ActivityTimeline Configuration → Teams

Then:
-
Click Create New Team.
-
Enter the team name.
-
Add users to the team by dragging them into the team area or by clicking the + icon.
-
Click Create.
Your first team is now ready.
Optional Settings
Linking a project to a team and assigning a Team Lead is optional.
Project linking is mainly used for additional context and better usability. For example, it can help filter Planner data by the team associated with a Jira project when ActivityTimeline is opened from that project page.
What Happens Next
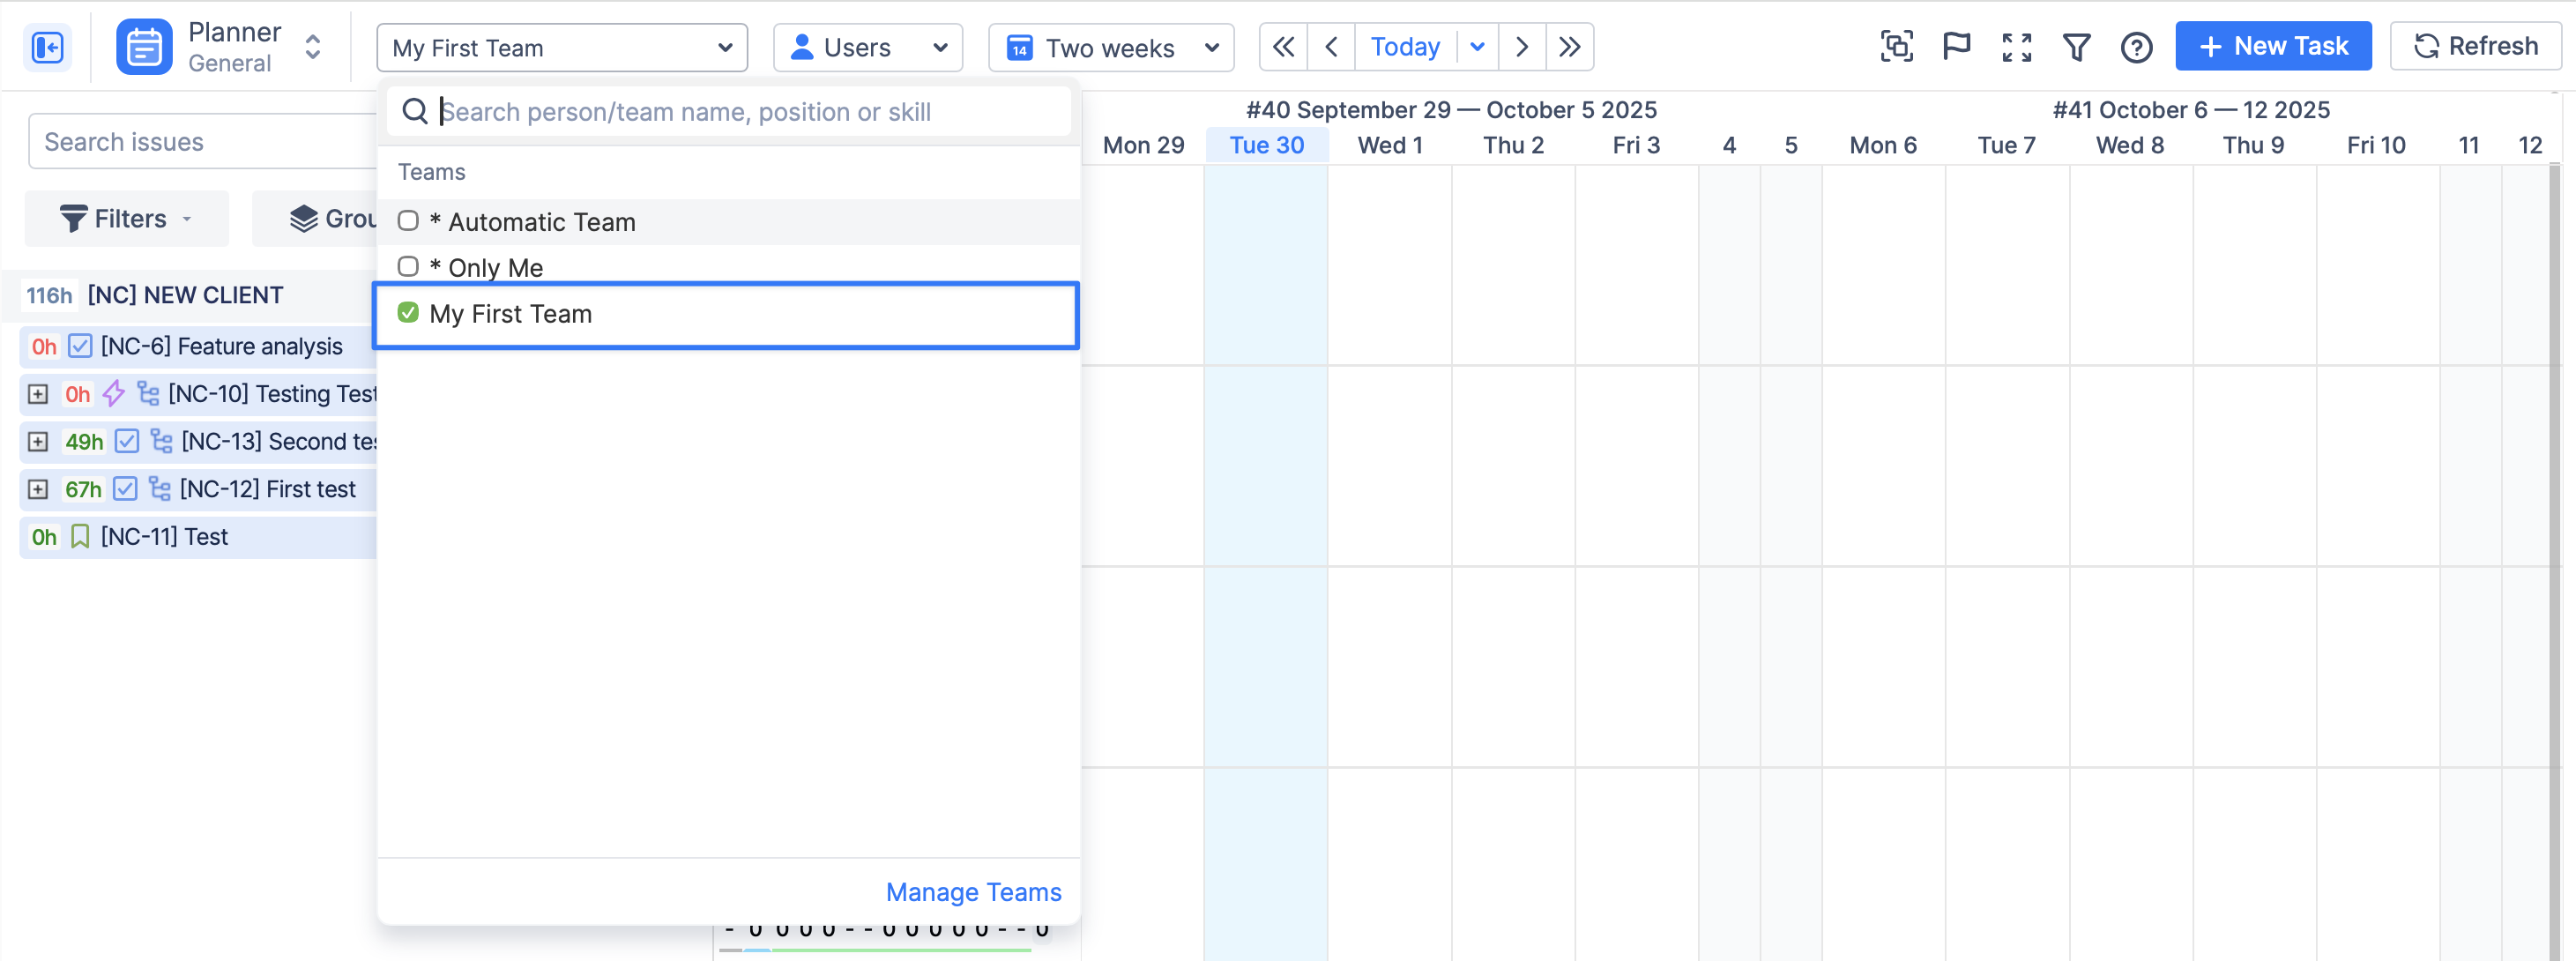
Once created, the team becomes available across ActivityTimeline modules, including Planner, Workspace, Timesheet, and Reports.
You can now continue to the next setup step: Assign Users to Roles, Positions and Skills