ActivityTimeline administrator has permission to administer, change users, and roles, add new projects, synchronize the issues, and change default settings.
The installation process of ActivityTimeline is identical to most Atlassian Marketplace applications and consists of a few simple steps:
-
Log into your Jira instance as an admin.
-
Click the admin dropdown and choose Apps or on the top Apps on the top menu bar for Cloud → Explore More Apps.
-
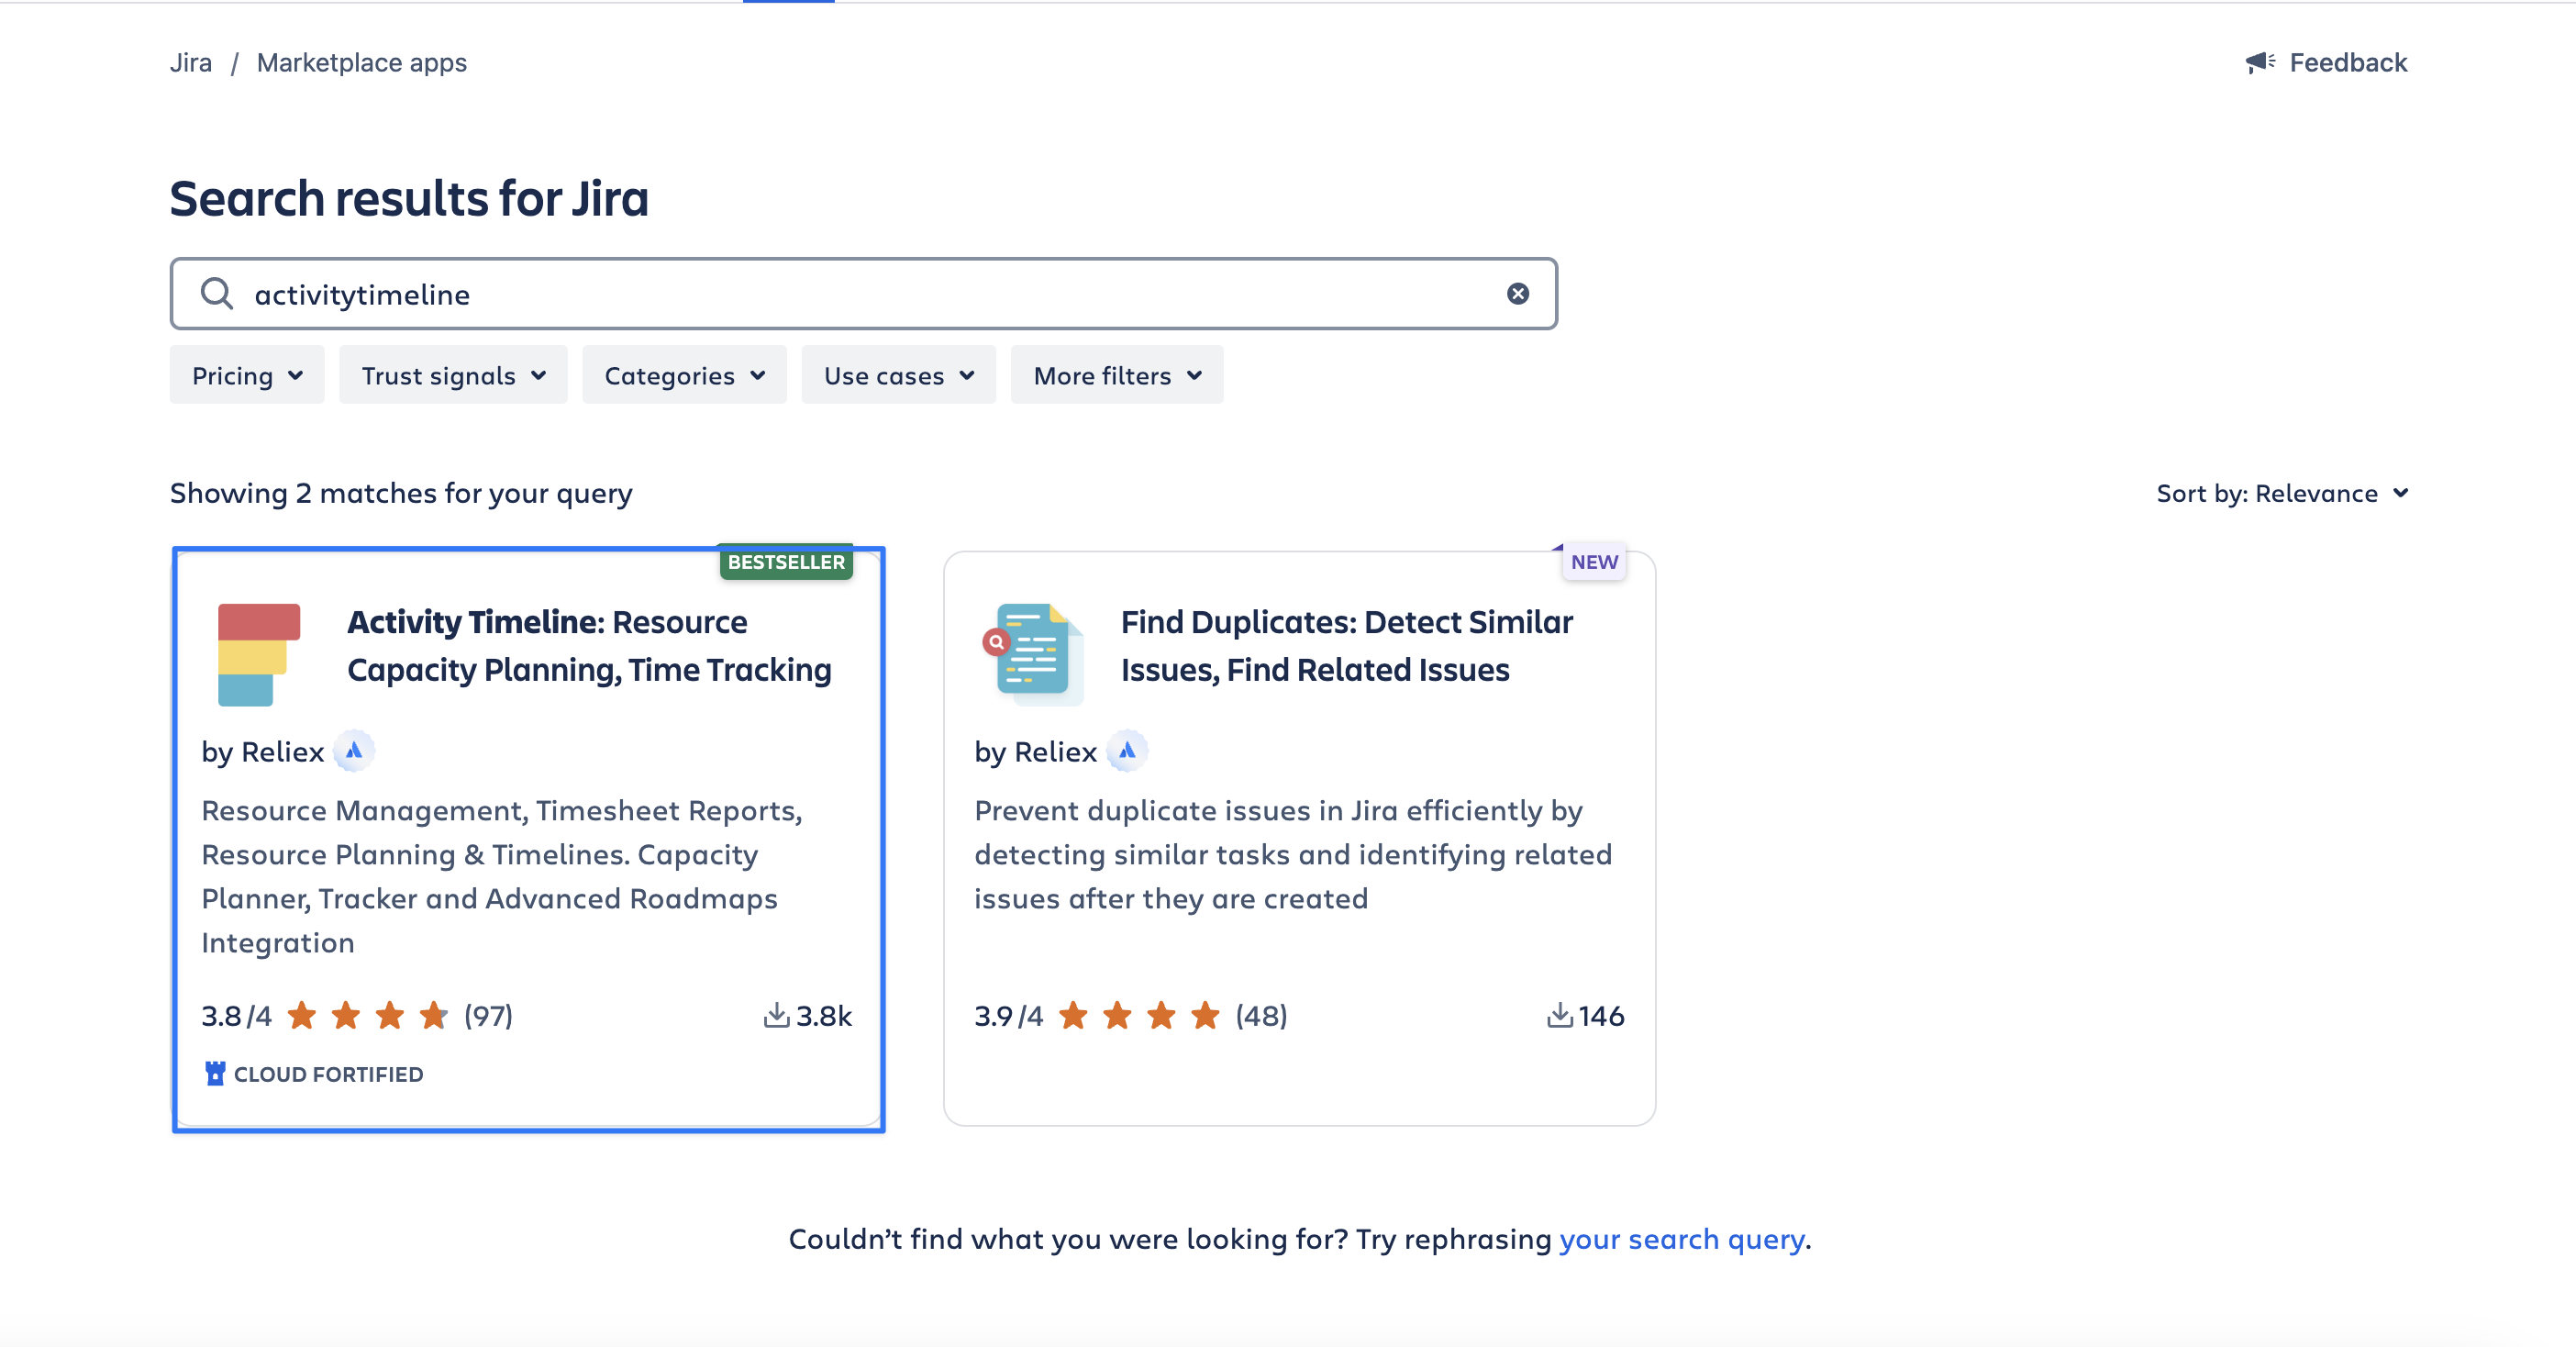
Locate ActivityTimeline.

-
Click Try it free to download and install the app.
-
Once installed, click “Configure” button and Setup Wizzard will open:

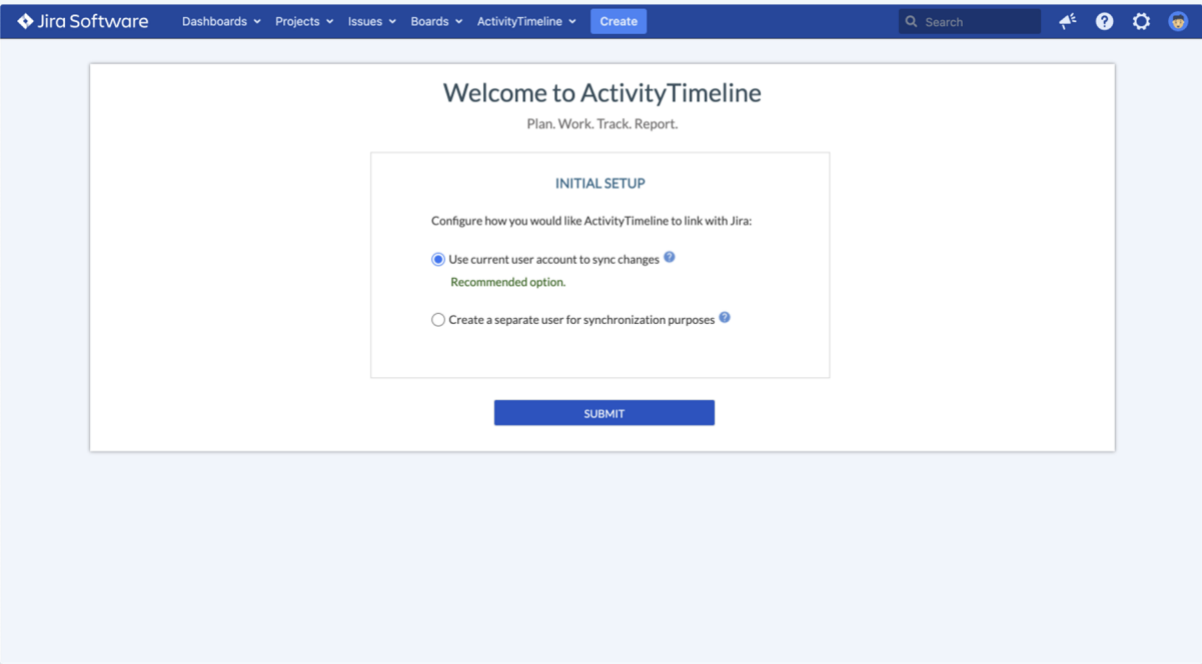
For the Data Center version, you also need to select how you would like ActivityTimeline to link with your Jira. There are two options for running synchronization in ActivityTimeline:
-
Current User: The synchronization will run using the permissions of a selected user, who must have the Browse Project permission for all projects managed in ActivityTimeline.
-
ActivityTimeline Add-on Sync User: ActivityTimeline will automatically create a dedicated user solely for synchronization purposes.
If you choose the first option (Current User), please note that if this user is disabled in Jira, the synchronization will stop. To resolve this, a Jira admin with the necessary permissions can re-run the Setup Wizard to assign themselves as the sync user. Alternatively, you can switch to using the Add-on Sync User at any time by navigating to Configurations -> Setup Wizard.

-
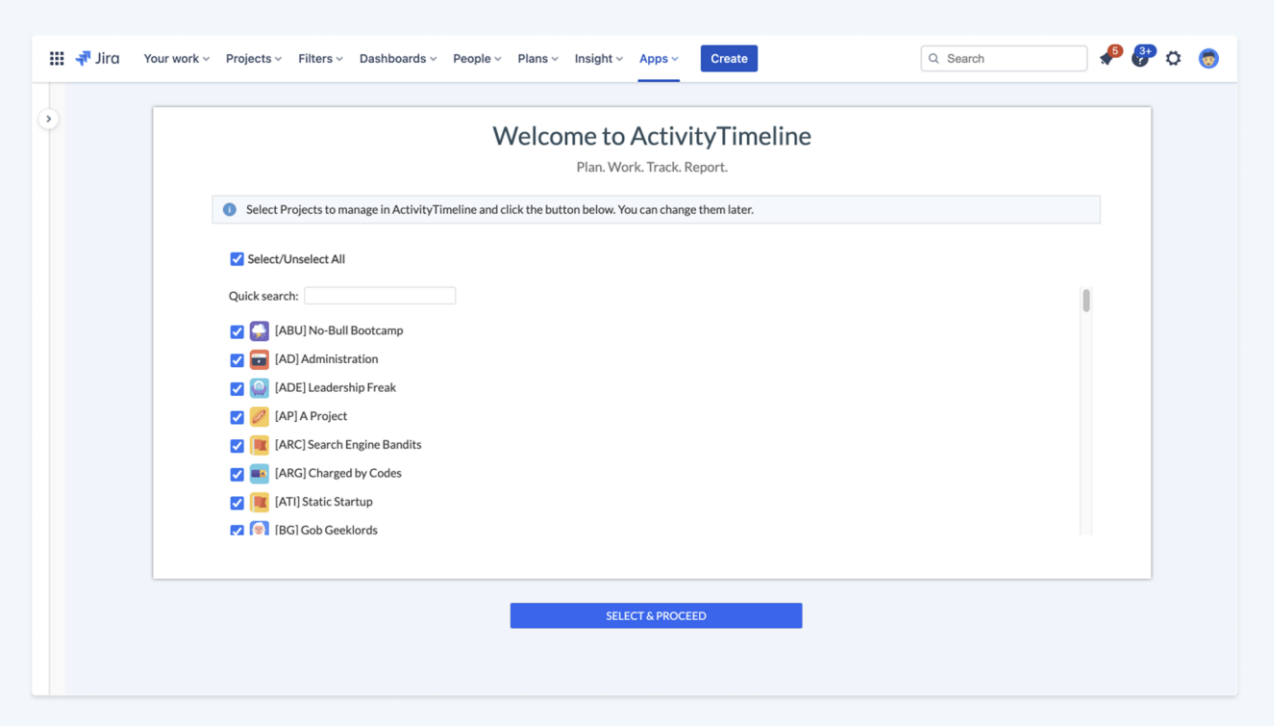
Select Projects to manage in ActivityTimeline and click “SELECT & PROCEED” button below:

-
Wait a couple of minutes until the system initializes all the necessary data. Click “FINISH” button when the operation is complete.
Once installed to begin configuring ActivityTimeline, start by reviewing the following sections: