
This page describes the procedure of ActivityTimeline’s data migration from Jira Data Center to Jira Cloud.
1. Prerequisites
-
Active Jira Data Center instance with ActivityTimeline installed v13.2+ (migration source)
-
Active Jira Cloud instance (migration target)
2. Preparation (Jira DC side)
-
Make sure that each Jira DC user has an email address specified.
-
Perform the standard Jira Data Center to Jira Cloud migration to migrate Jira's data. Make sure the required Jira data has been migrated, including:
-
projects and issues;
-
users and groups;
-
custom fields;
-
worklogs;
-
other Jira data used by your ActivityTimeline configuration.
-
-
Open Jira Data Center → ActivityTimeline app → Configuration → Advanced Settings page:
-
enter “IMPORT_EXPORT“ into the Custom Functionality field (separate by comma if you already have some values there)
-
click “Update” button
-
-
Open the new “Data Export/Import“ item on the left of the Configuration page.
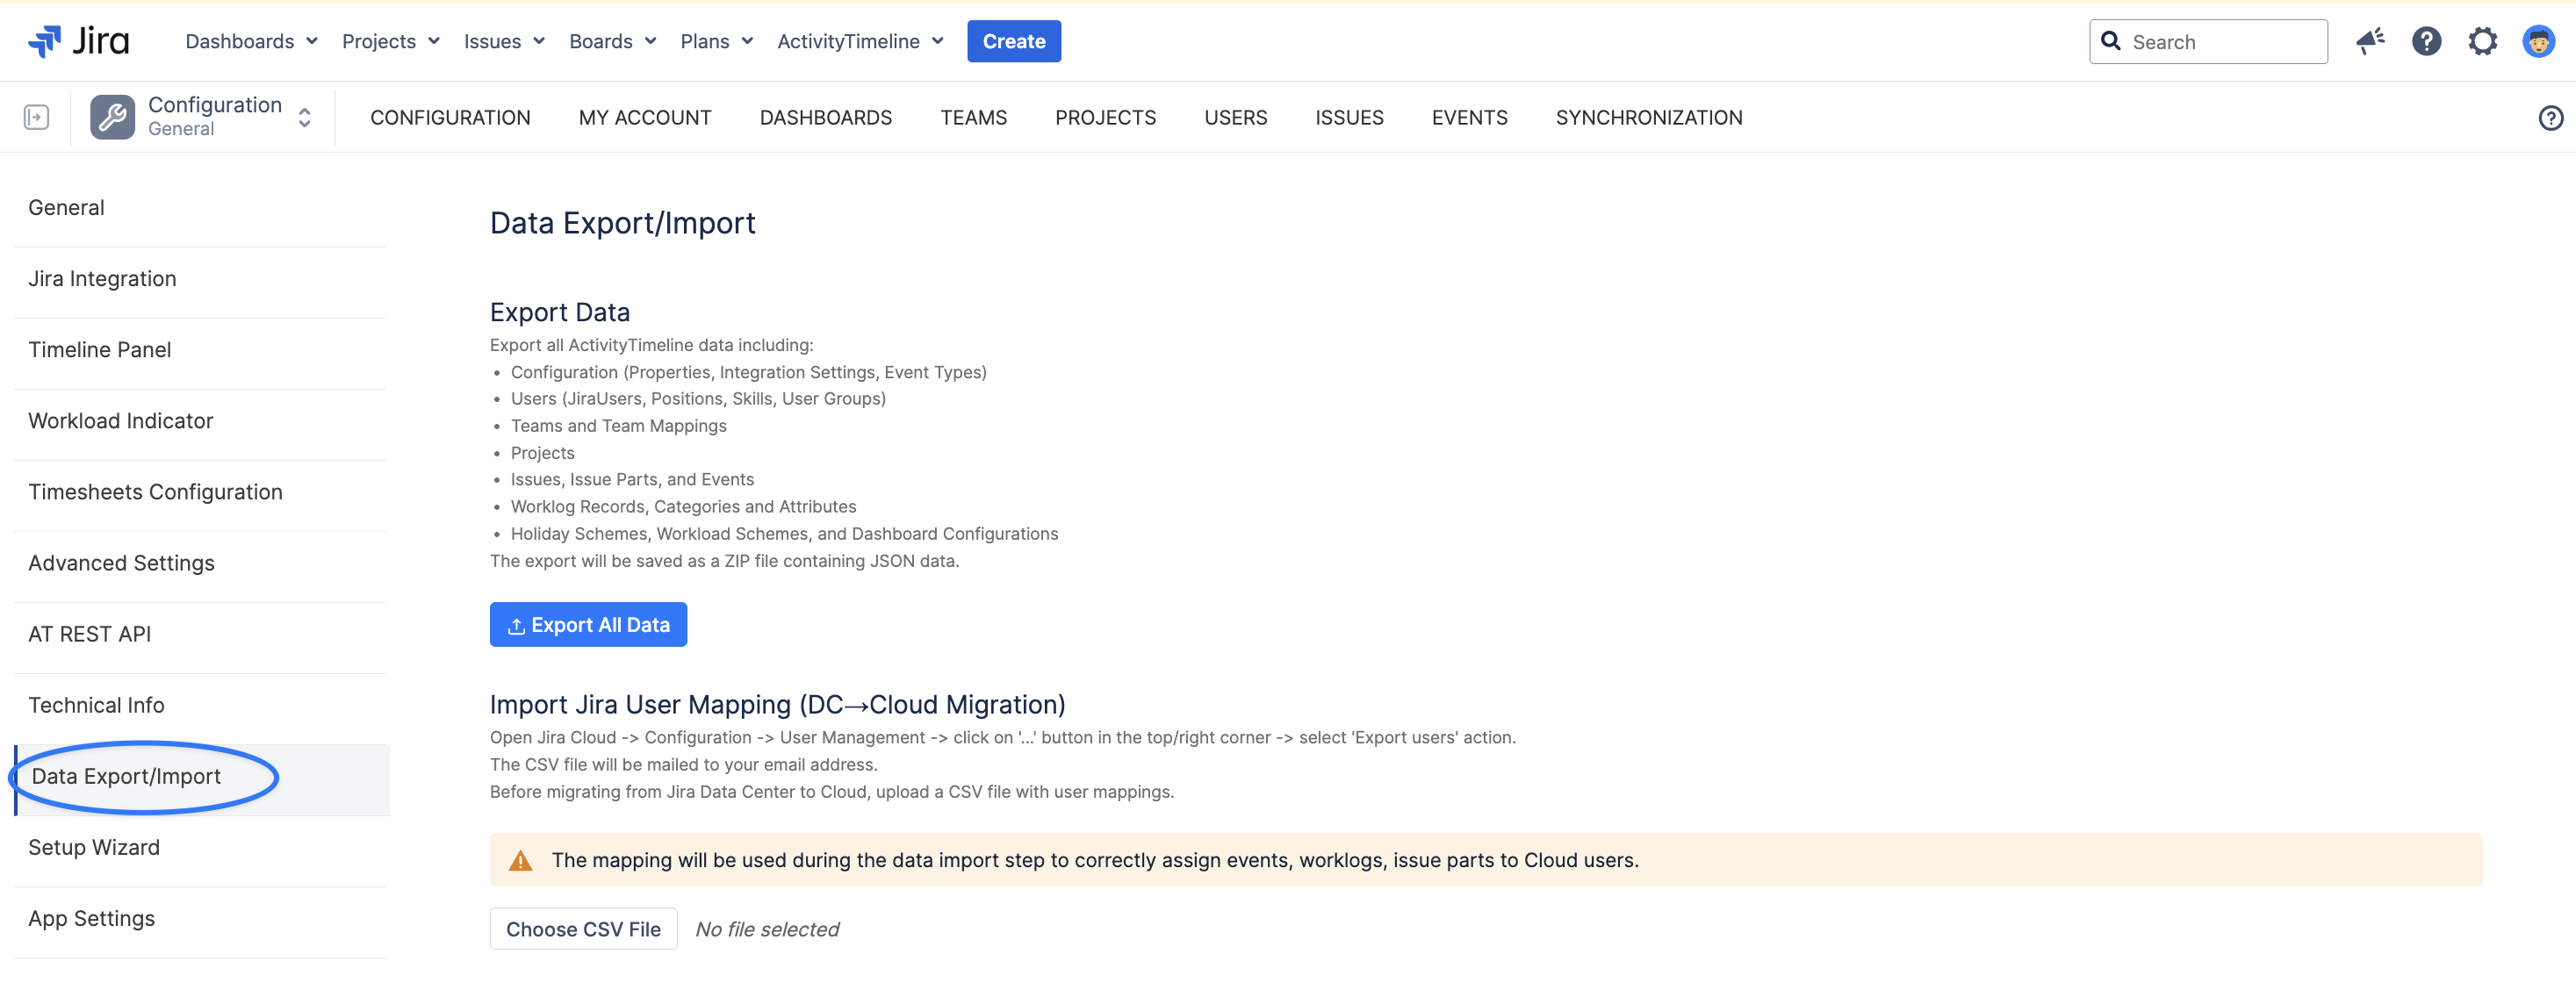
-
Click “Export All Data“ button
-
select both “Issues & Events“ and “Worklogs“ checkboxes
-
select a date range period that you would like to migrate to Jira Cloud
-
the shorter the period - the faster the migration
-
you may perform multiple migrations so we recommend to start with the smallest possible date period like a few months
-
-
click “Start Export“ button
-
activitytimeline_export_<date>.zip data file should be downloaded in a web browser
-
save it.
-
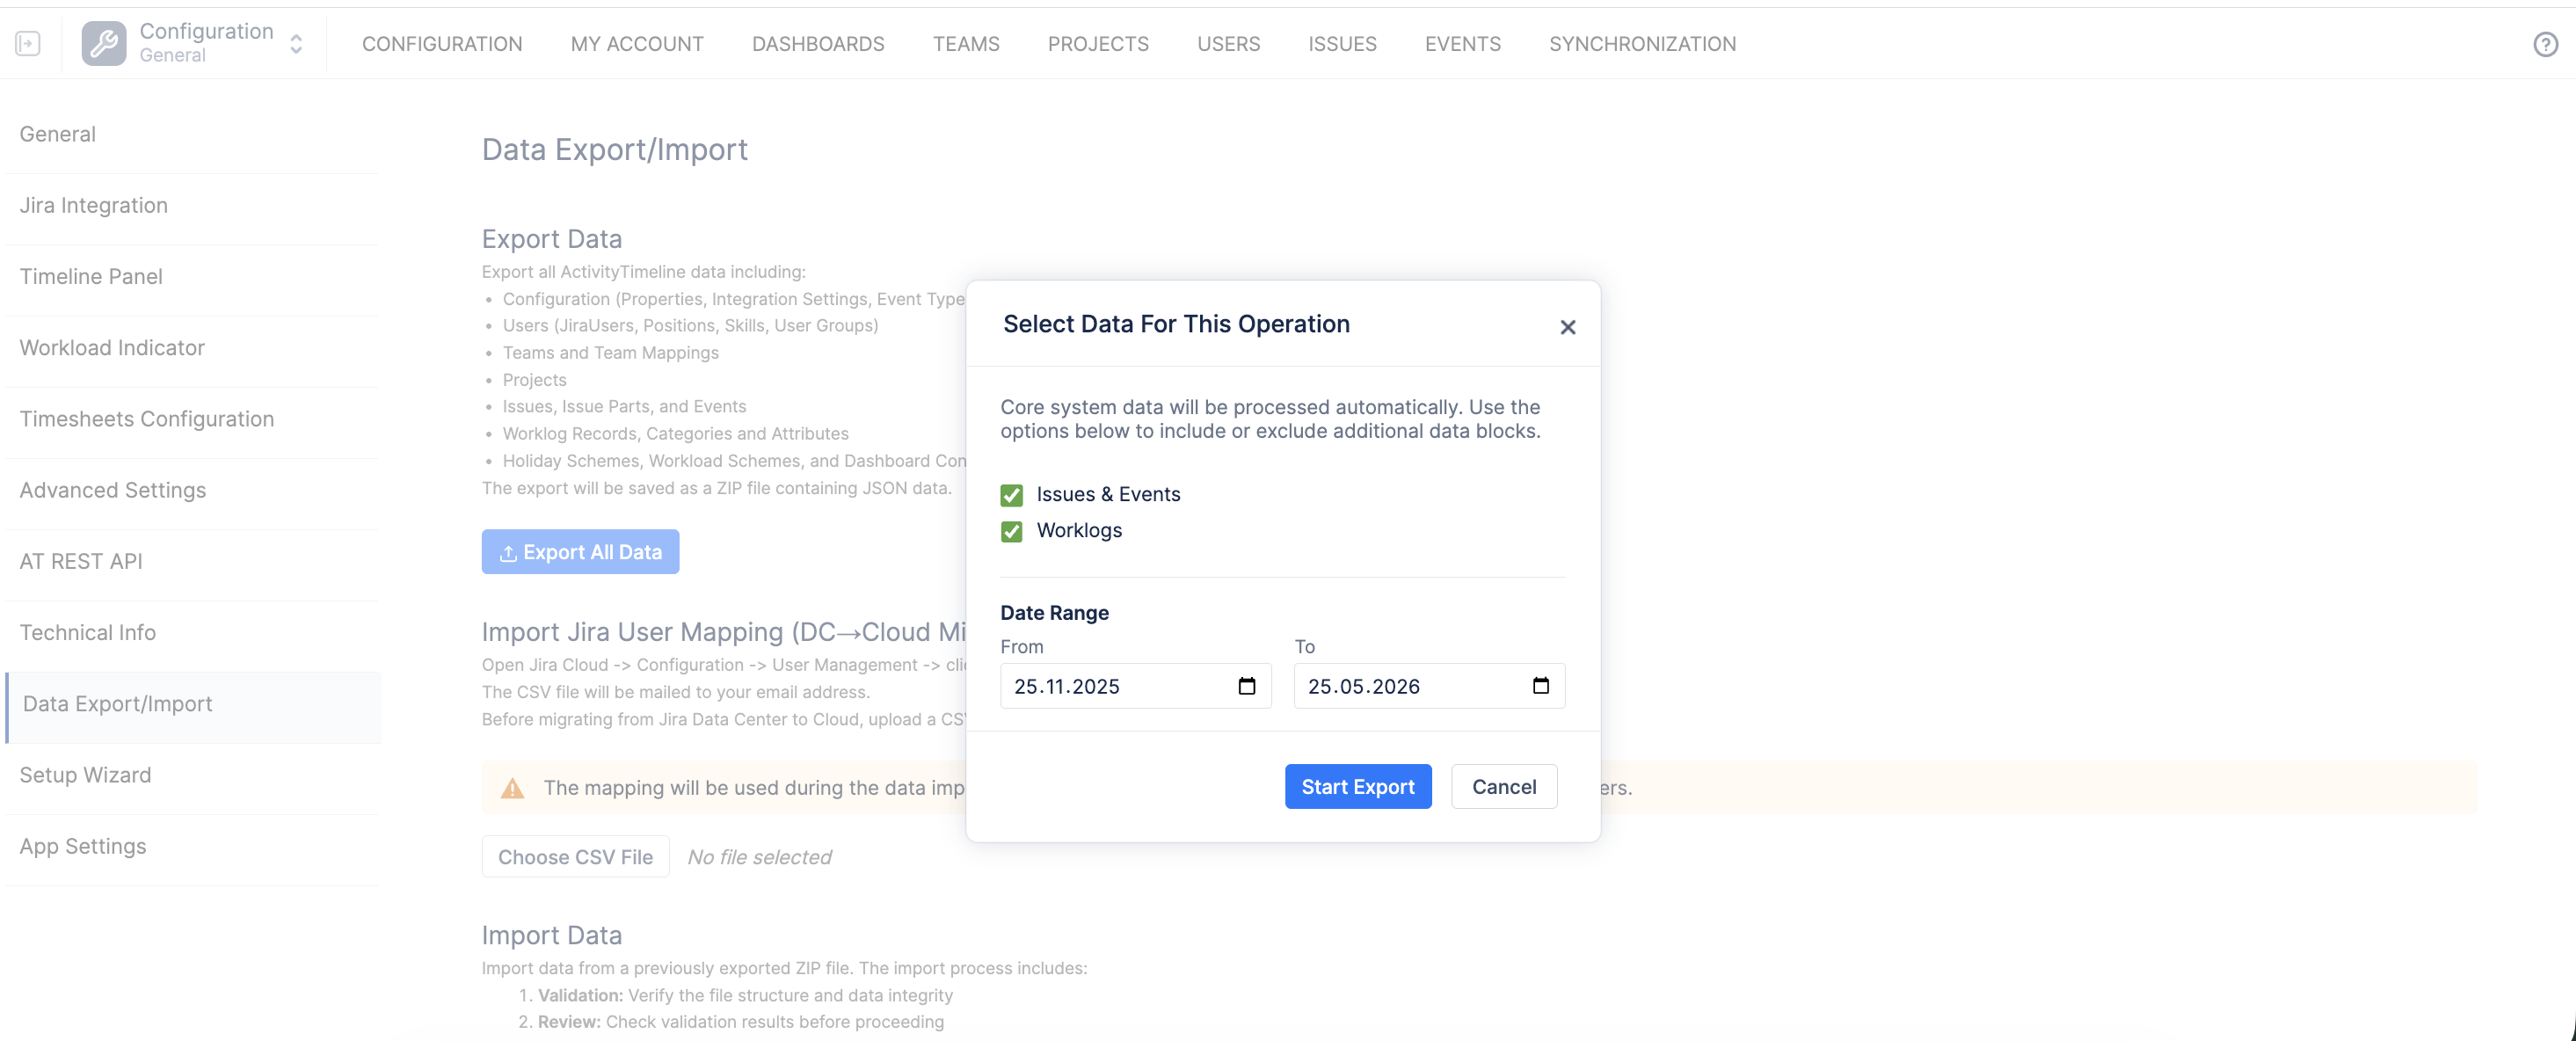
The data file will be used during the data import step in ActivityTimeline Cloud app.
3. Preparation (Jira Cloud side)
-
Make sure that each Jira Cloud user has an email address specified (user’s will be mapped based on email address because Jira Cloud uses accountId instead of username).
-
Open Jira Cloud -> Configuration -> User Management -> click on '...' button in the top/right corner -> select 'Export users' action.
-
select “All users“, “All users“ statuses and no “Additional data”
-
the users data CSV file will be mailed to your email address.
-
open that email and click “Download CSV file“ button in the email to download the file
-
save that instance-export-users.csv file on your computer.
-
The mapping will be used during the next data import step to correctly assign events, worklogs, issue parts etc. to Cloud users.
4. Migration Procedure (Jira Cloud)
-
Install ActivityTimeline app in your Jira Cloud instance
-
Open ActivityTimeline app and open the Setup Wizard screen:
-
select all migrated Jira DC Projects that should be managed in Jira Cloud instance
-
click Proceed button to finish the Setup Wizard process (it could take some time)
-
this will initialize a new ActivityTimeline Cloud app with the basic Jira’s migrated data
-
-
Open Jira Cloud → ActivityTimeline app → Configuration page
-
click on the "Jira Integration" page and make sure all the necessary fields are mapped to the new Jira issue fields in Jira Cloud, paying particular attention to:
-
-
Planned Start Date
-
Planned End Date
-
Collaborators, if used
-
Team field, if used
b. click “Update” button at the bottom
-
Review synchronization limits: open Configuration → Advanced Settings. If the Jira instance contains a large number of issues or worklogs, increase the limits so that all required Jira data can be synchronized with ActivityTimeline:
-
Number of Issues to load from Jira
-
Number of Worklogs to load from Jira
-
Synchronize Issues and Worklogs updated within this period
-
-
Run a full Jira synchronization: open Configuration → Synchronization and run:
-
Full Issues Synchronization
-
Full Worklogs Synchronization, if required
-
-
Open Jira Cloud → ActivityTimeline app → Configuration → Advanced Settings page:
-
-
enter “IMPORT_EXPORT“ into the Custom Functionality field (separate by comma if you already have some values there)
-
click “Update” button
-
-
Open the new “Data Export/Import“ item on the left of the Configuration page.
-
Click “Choose CSV File“ button and select instance-export-users.csv file that was obtained above (step 2. b. of 3. Preparation (Jira Cloud side) section above)
-
click the “Validate & Preview” button
-
if everything is OK then click the “Apply Mapping“ button
-
this should associate Jira Cloud users to Jira DC users through the email address
-
if needed, an email address can also be added or corrected manually in an ActivityTimeline user profile.
-
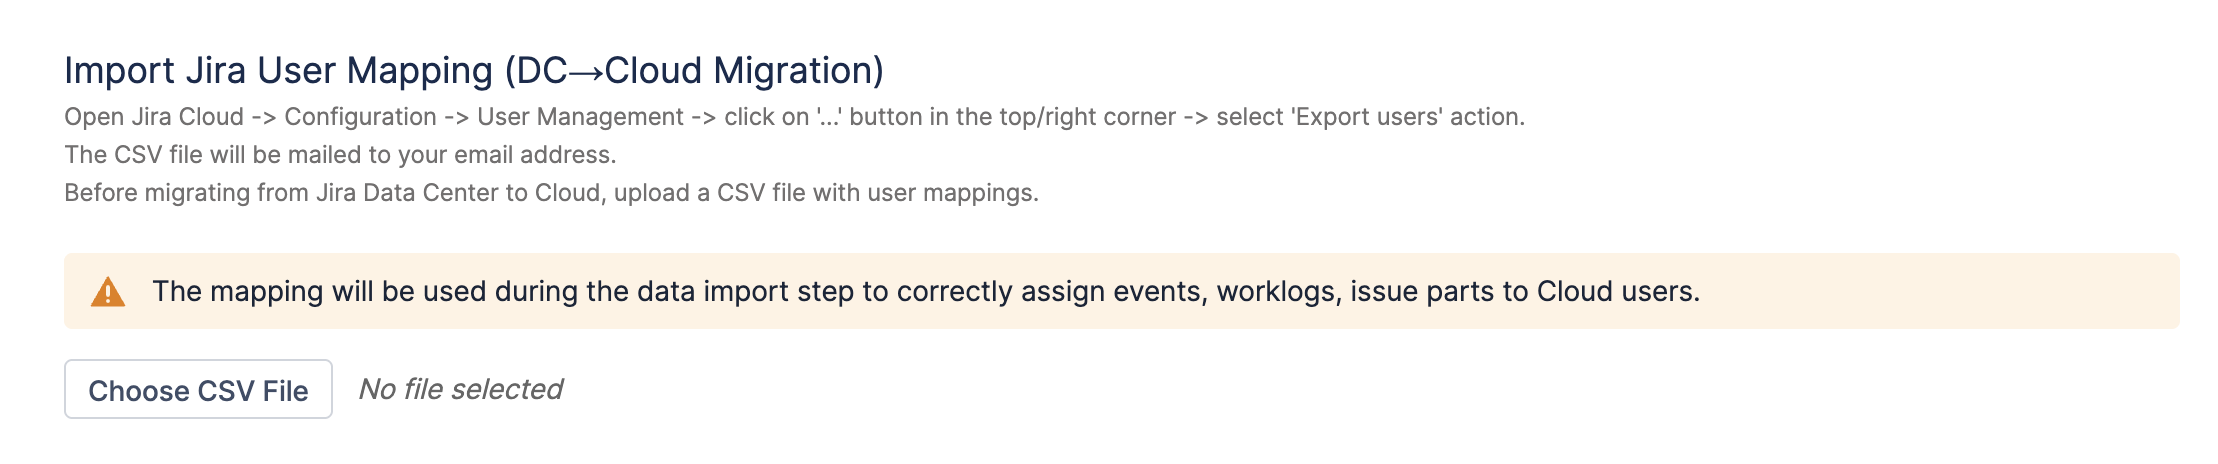
Important!
The next step will add new and augment/overwrite the existing ActivityTimeline Cloud data with matching data from the selected ZIP data file. Please make sure you are importing to the correct instance/environment.
-
Click “Choose ZIP File“ button and select the previously saved activitytimeline_export_<date>.zip file from Jira Data Center that was obtained above (section 2. Preparation (Jira DC side))
-
-
click the “Validate File” button
-
if everything is OK, click the "Import Data" button (optionally, enable the "Issues & Events" and "Worklogs" checkboxes) and confirm the operation
-
the system should start the import process asynchronously,
-
the page itself may time out while the import continues in the background; large migrations can take several hours — do not start another import while one is still running.
-
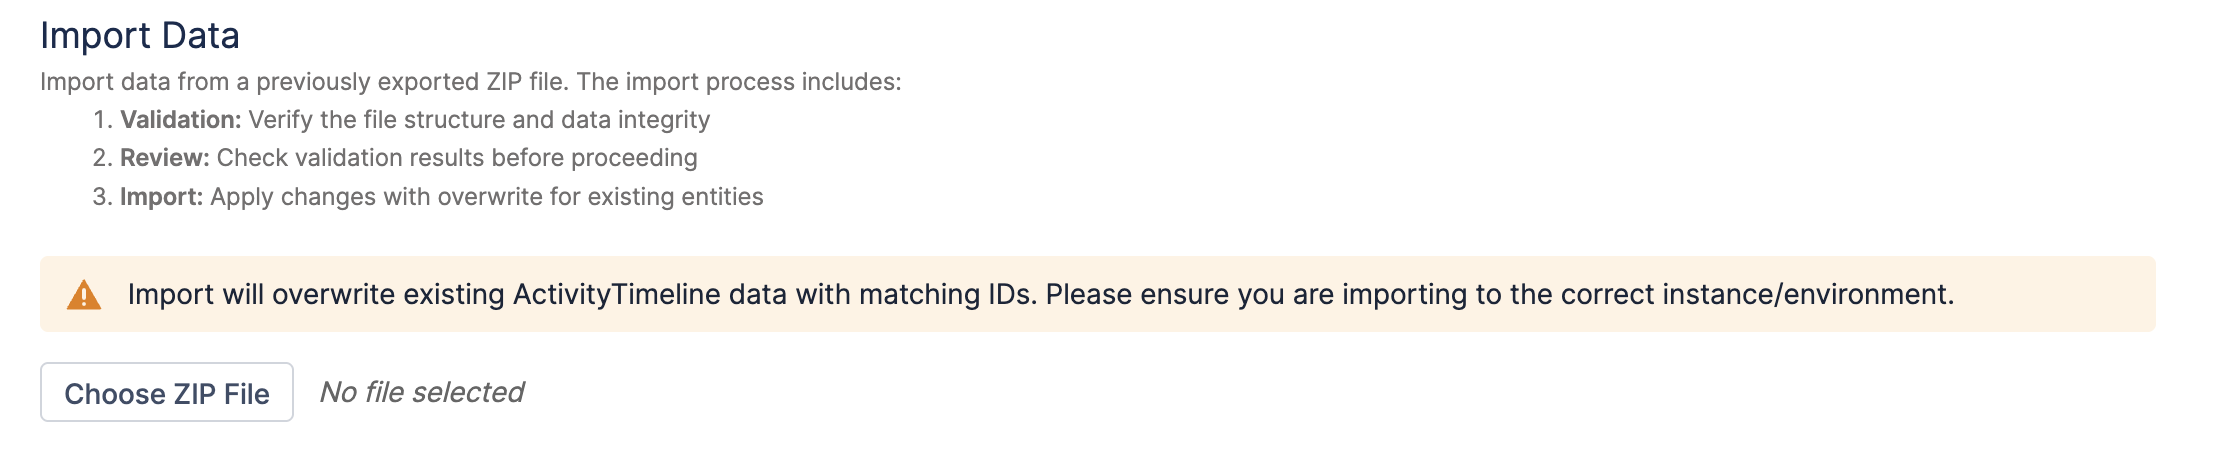
Large migrations can take several hours. Do not start another import while the current import is still running.
5. Verify the Migrated Data
Where: ActivityTimeline Cloud. After the import is complete, verify that:
-
app settings are correct;
-
teams and team memberships are correct;
-
projects and project mappings are correct;
-
holiday and workload schemes are available and assigned correctly;
-
user metadata such as positions, skills, roles, and additional fields is available;
-
custom events and event types are correct;
-
issues, issue parts, and events are displayed for the expected users;
-
worklogs, with categories and attributes, are available.
Please contact our support team at Reliex Support if you need any assistance with the migration process or encounter any questions, issues, or errors along the way.