
This guide explains the main areas of the Planner interface and how to navigate, filter, and adjust the view. If you are looking for guidance on capacity planning, balancing workload, or choosing between Jira issues, Bookings, and Placeholders, see Planner: Jira Resource & Capacity Planning.
Planner at a Glance
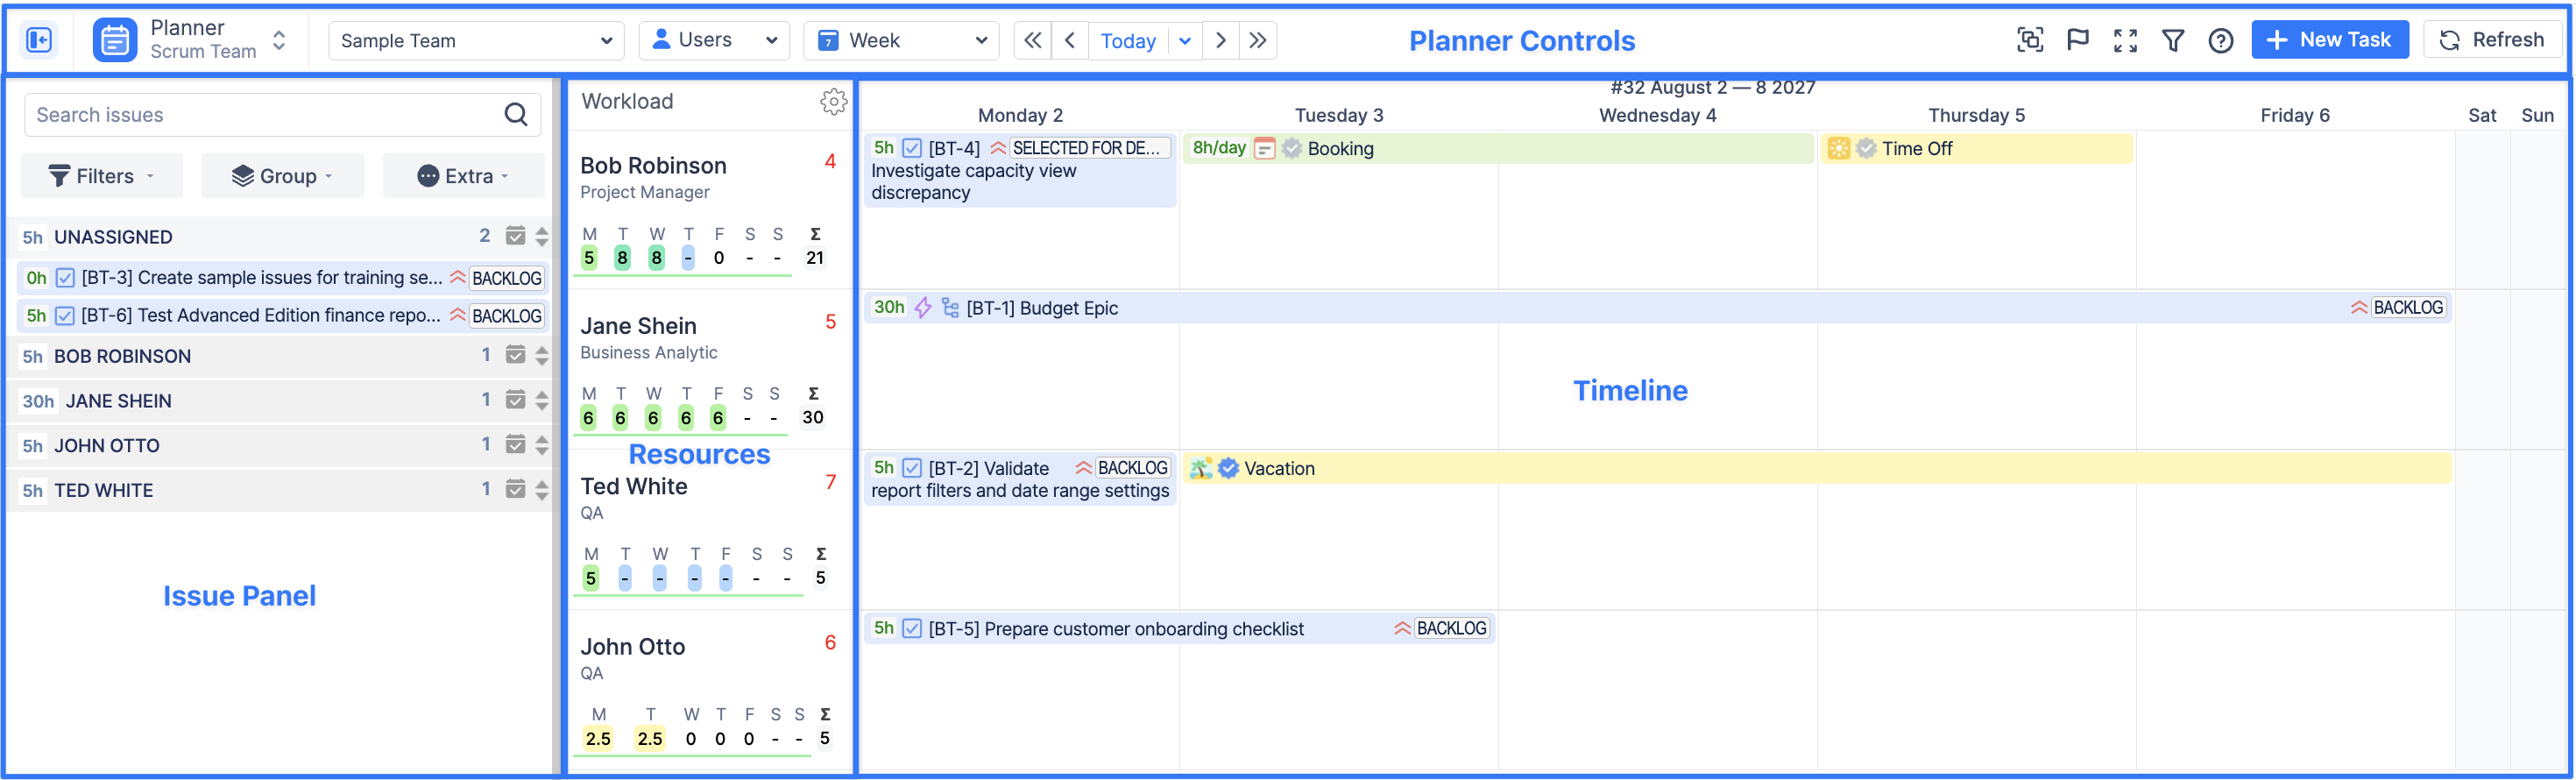
The Planner consists of three main areas:
-
Resource Panel & Timeline — see users or teams, their workload, and scheduled activities in one timeline.
-
Issue Panel — find Jira issues and schedule them without leaving Planner.
-
Planner Controls — change the planning period, switch views, apply filters, and customize what you see.
Planner Controls
Use the controls above the timeline to change what you see without changing the underlying plan.
|
Control |
What it does |
|
|---|---|---|
|
User / Team Selector |
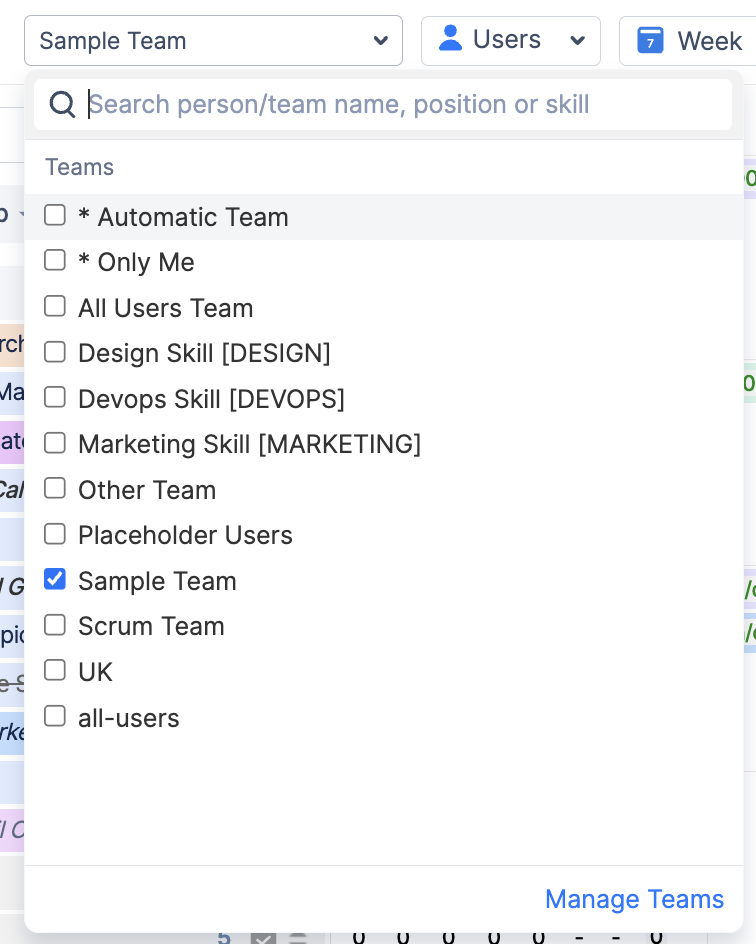
Select the user or team whose timeline you want to view. |
|
|
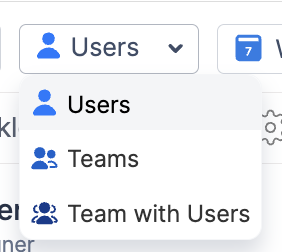
Switch between individual resource planning, team-level planning, or a combined team and user view. |
|
|
|
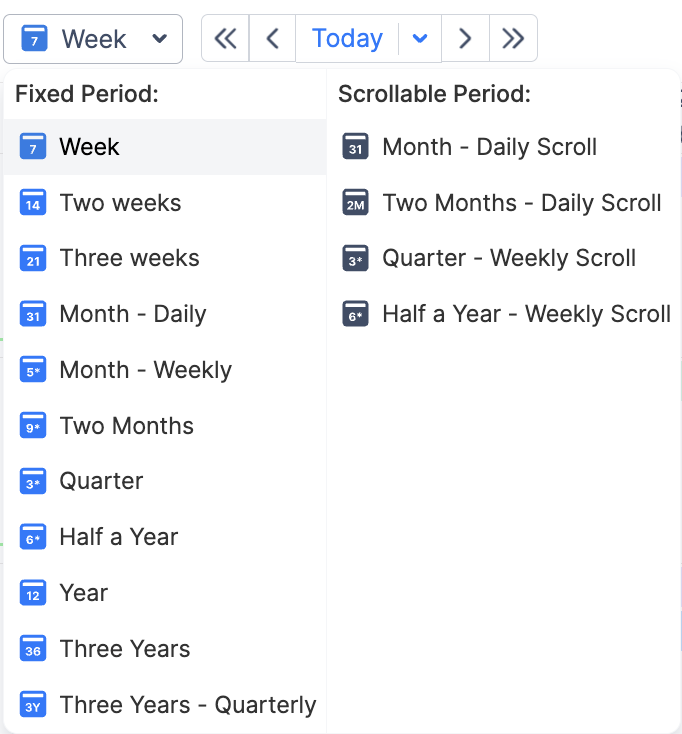
Choose how time is represented on the timeline, such as days, weeks, or months. |
|
|
|
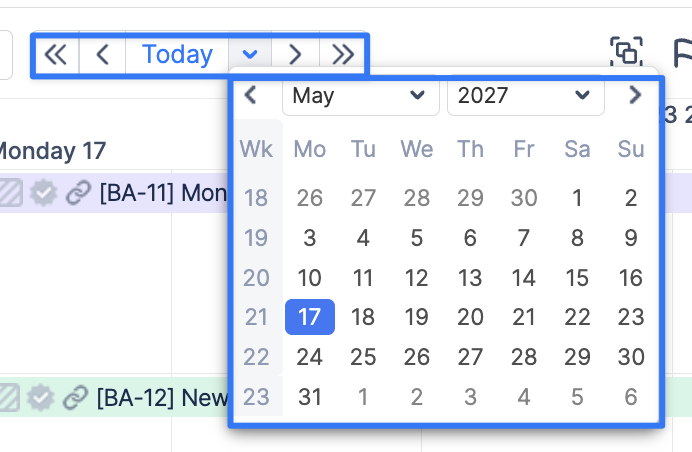
Use the navigation controls to move forward or backward through the timeline. The arrows allow you to jump by the selected planning unit: day, week, or month. Click Today to return to the current period. |
|
|
|
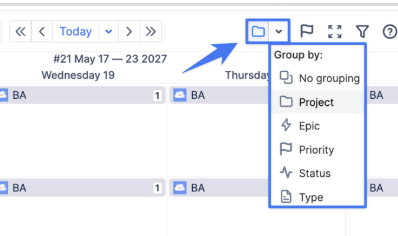
Groups timeline data into summarized views. You can aggregate information by:
|
|
|
|
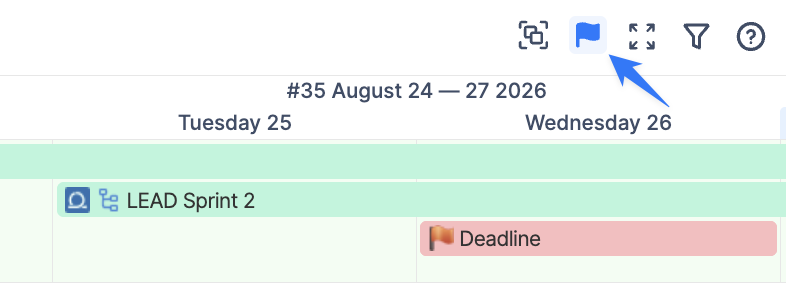
The Milestones Panel appears above user timelines and is used to display important high-level events, such as releases, deadlines, sprints or other key dates. |
|
|
|
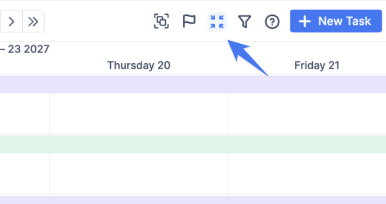
Reduce the space used by timeline items so more work can be viewed at once. |
|
|
|
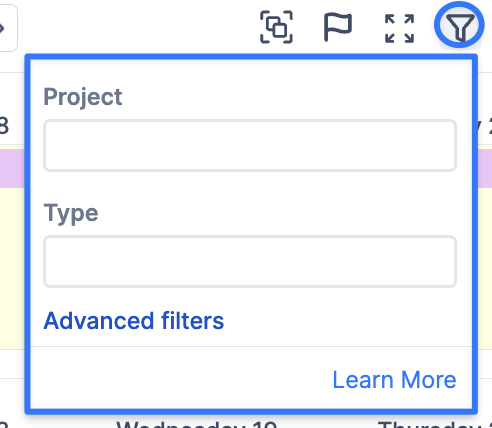
Show only the projects, or work relevant to your current plan. The filter icon changes color depending on its status:
|
|
|
|
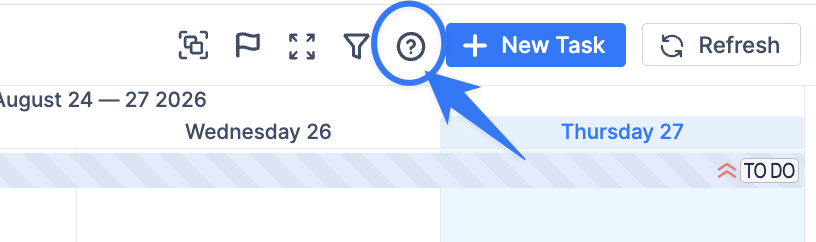
The Help icon provides quick access to ActivityTimeline documentation and the support portal. Use it when you need product guidance, setup instructions, or additional assistance. |
|
|
|
New Task |
Click New Task to create Jira issues or custom events directly from the Timeline Panel. |

|
|
ActivityTimeline automatically synchronizes with Jira every 10 minutes. If you need to see Jira changes immediately, click Refresh to update the Planner manually. |

|
Issue Panel
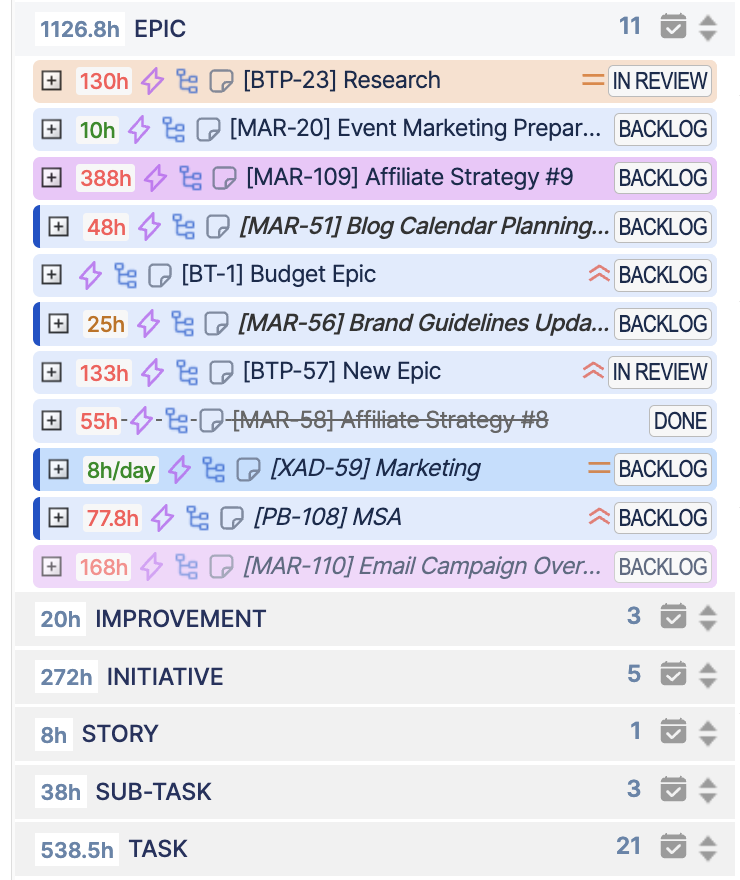
The Issue Panel helps you find Jira issues that you want to schedule in Planner.
By default, if no filters are applied, the panel shows Jira issues that were modified within the last 30 days.
Issues can be dragged from this panel and scheduled directly on user timelines.
|
Control |
What it does |
|
|---|---|---|
|
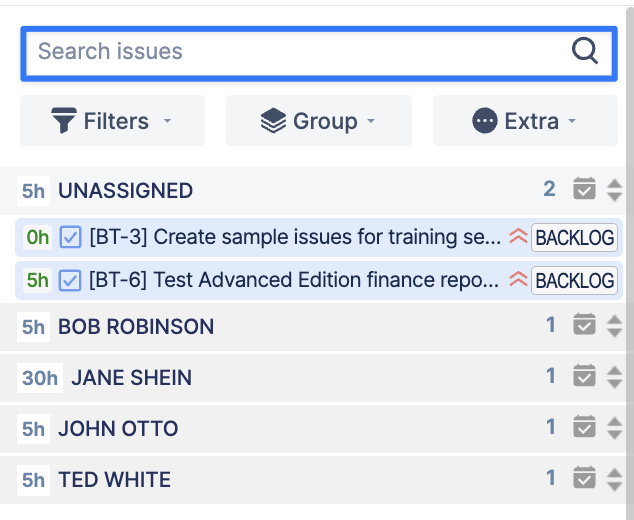
Search |
Find an issue by key or text. |
|
|
Filters & Grouping |
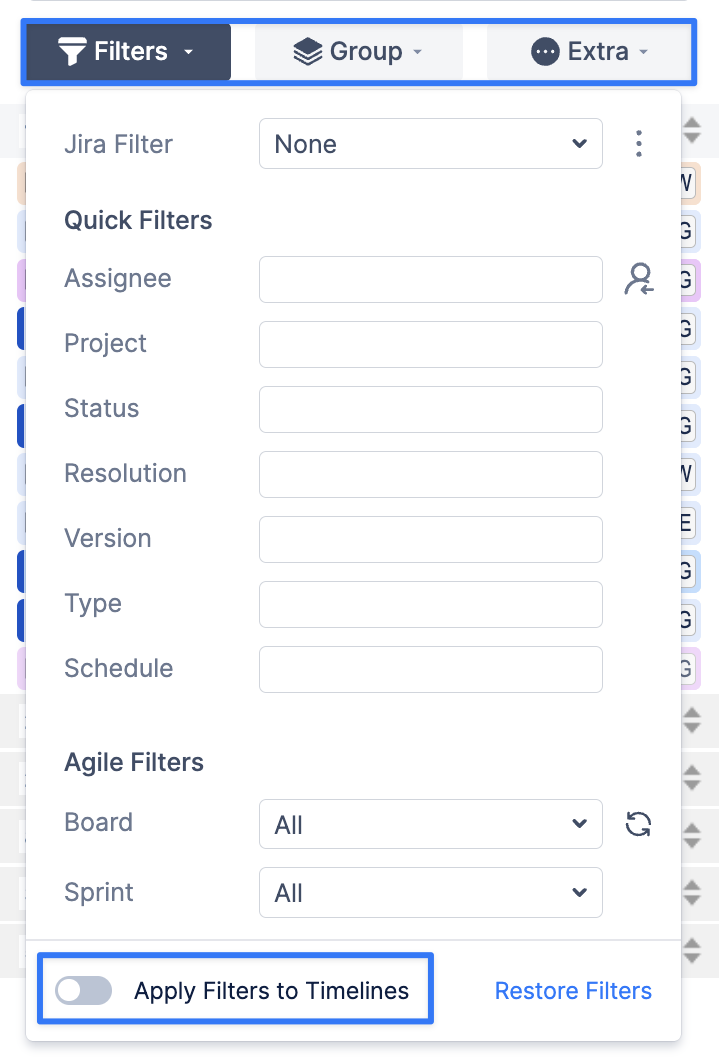
The Filters, Group, and Extra options allow you to narrow down and organize the list of Jira issues in the Issue Panel. You can filter and group issues by different criteria, such as project, assignee, status, priority, issue type, sprint, and other available fields. Filters from the Issue Panel can also be applied to the timeline to focus only on relevant work. |
|
|
Issue View & Card |
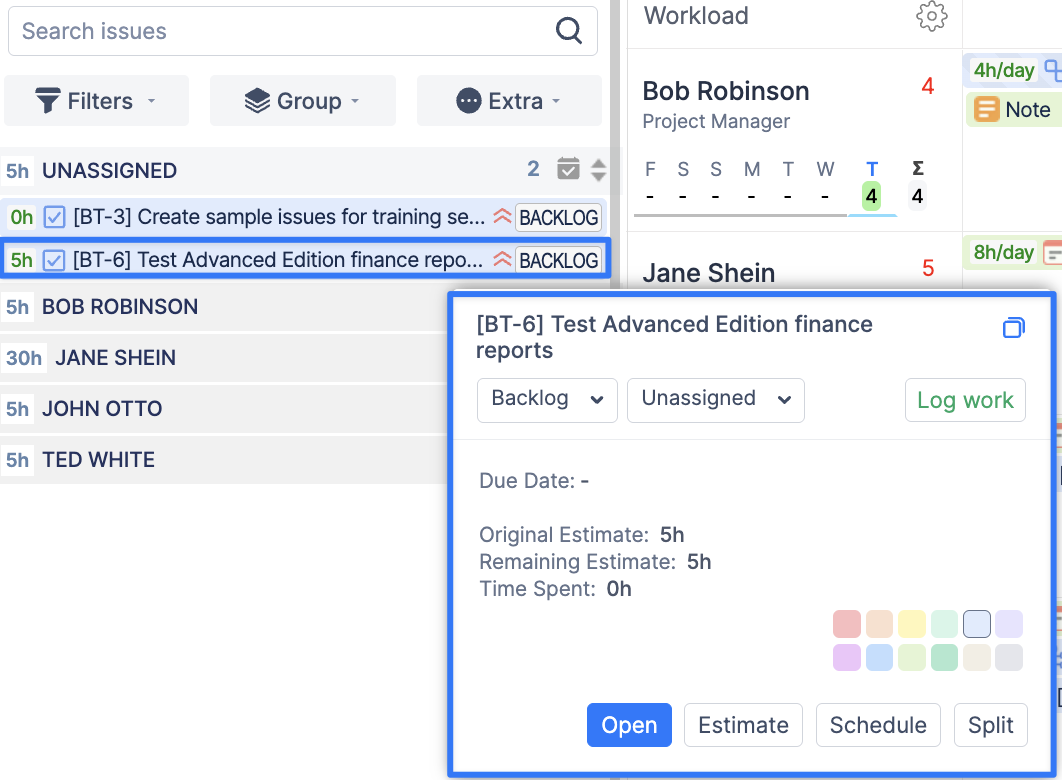
Review relevant information before scheduling the issue. |
|
Resource Panel & Timeline
The Resource Panel & Timeline shows users or teams together with their scheduled work. Use it to review schedules, workload, and availability and to manage planned activities directly on the timeline.
Timeline
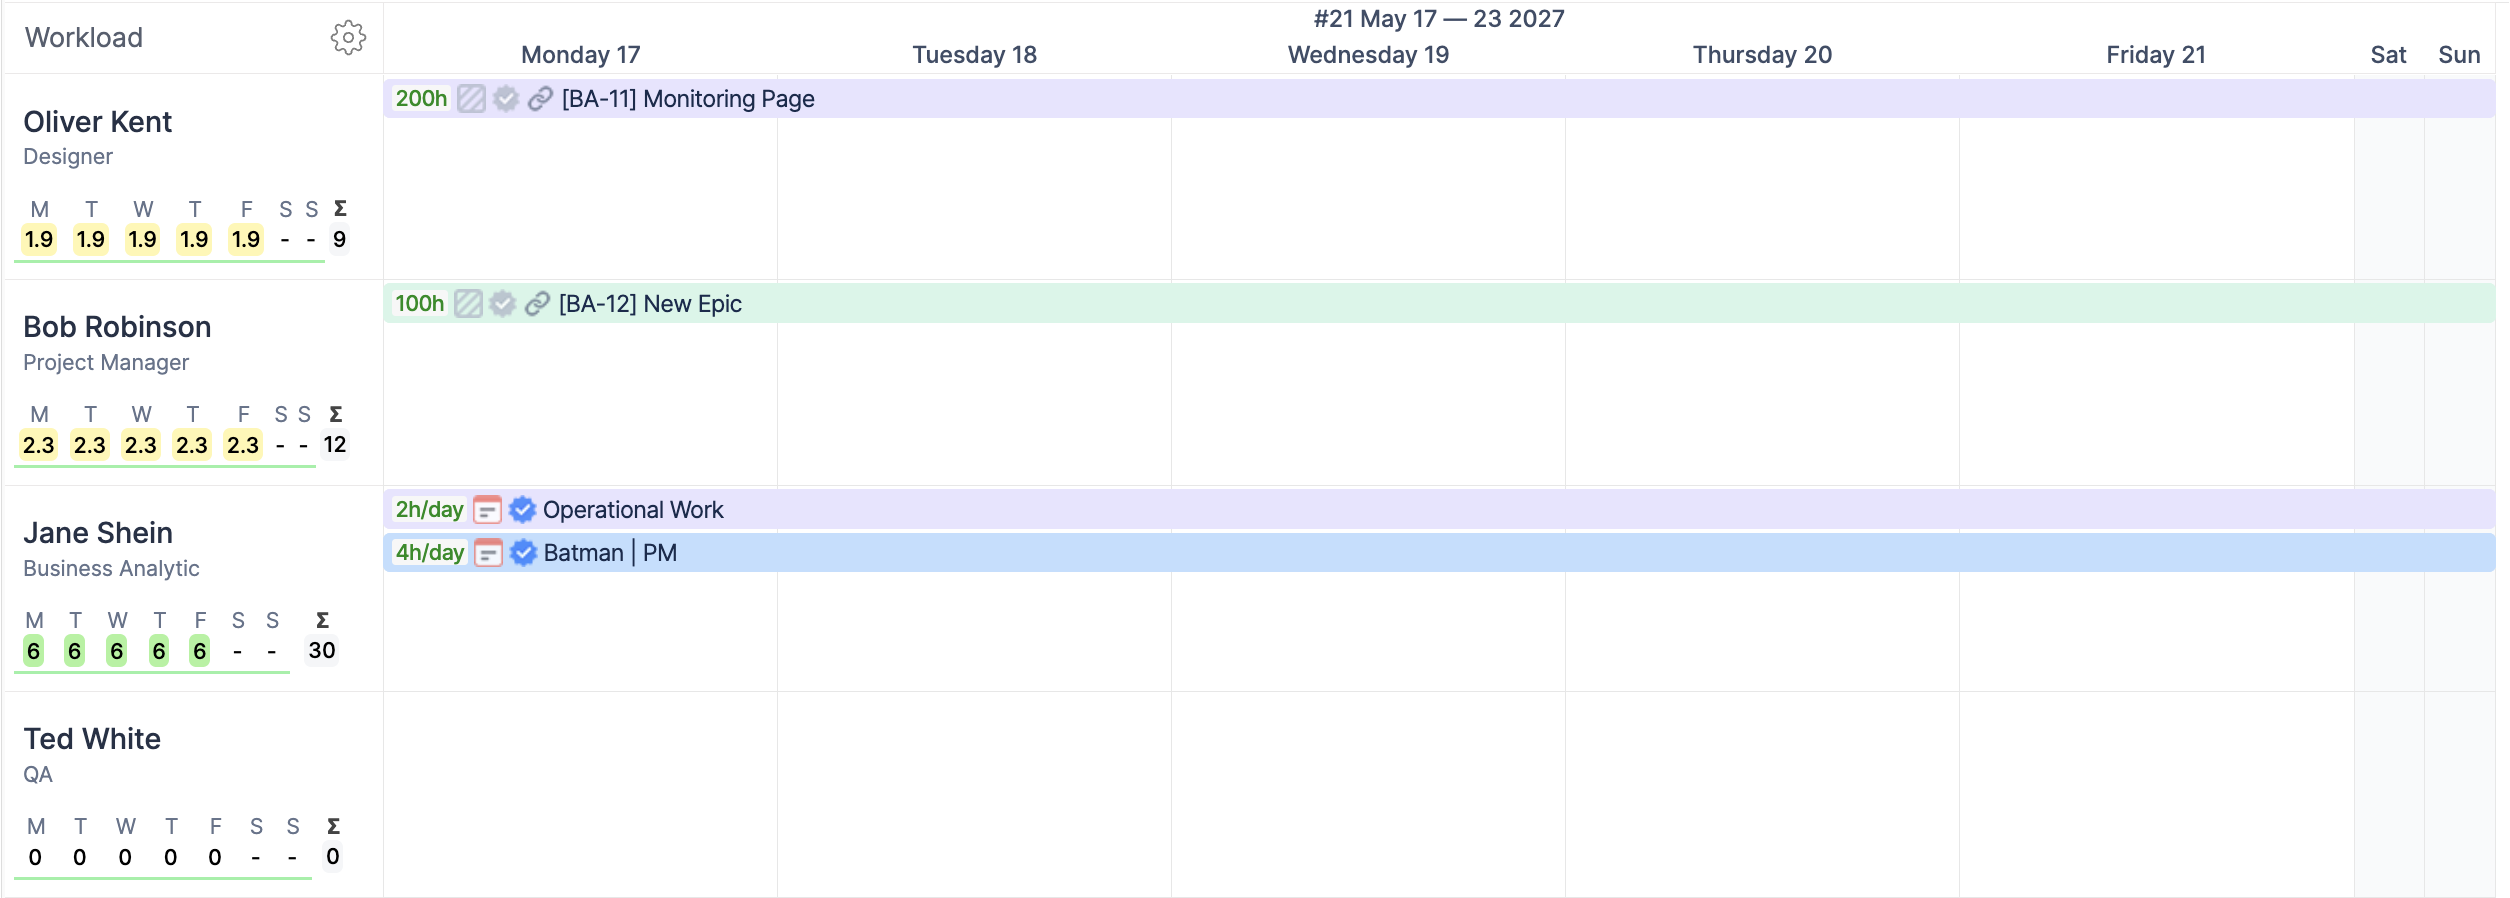
The Users Timeline Panel displays current and future schedules in a calendar-style view.
Each row represents a user, while each column represents a specific day, week, or month depending on the selected planning view.
The Team Timeline provides a team-level view of planned work, workload, availability, and key schedule items.

It is especially useful for reviewing overall team capacity before assigning work to individual users.
Workload & Capacity Indicators
Workload indicators give you a quick view of how planned work compares with available capacity directly in the Planner.
ActivityTimeline provides different workload indicators and display modes depending on how you want to review resource or team capacity.
The Individual Indicator appears under each user’s name and shows daily workload or availability values.
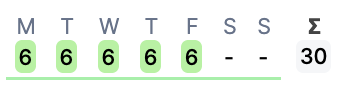
Use the Individual Indicator Mode to choose what the indicator displays, such as planned workload, remaining availability, workload percentage, or the number of assigned issues.
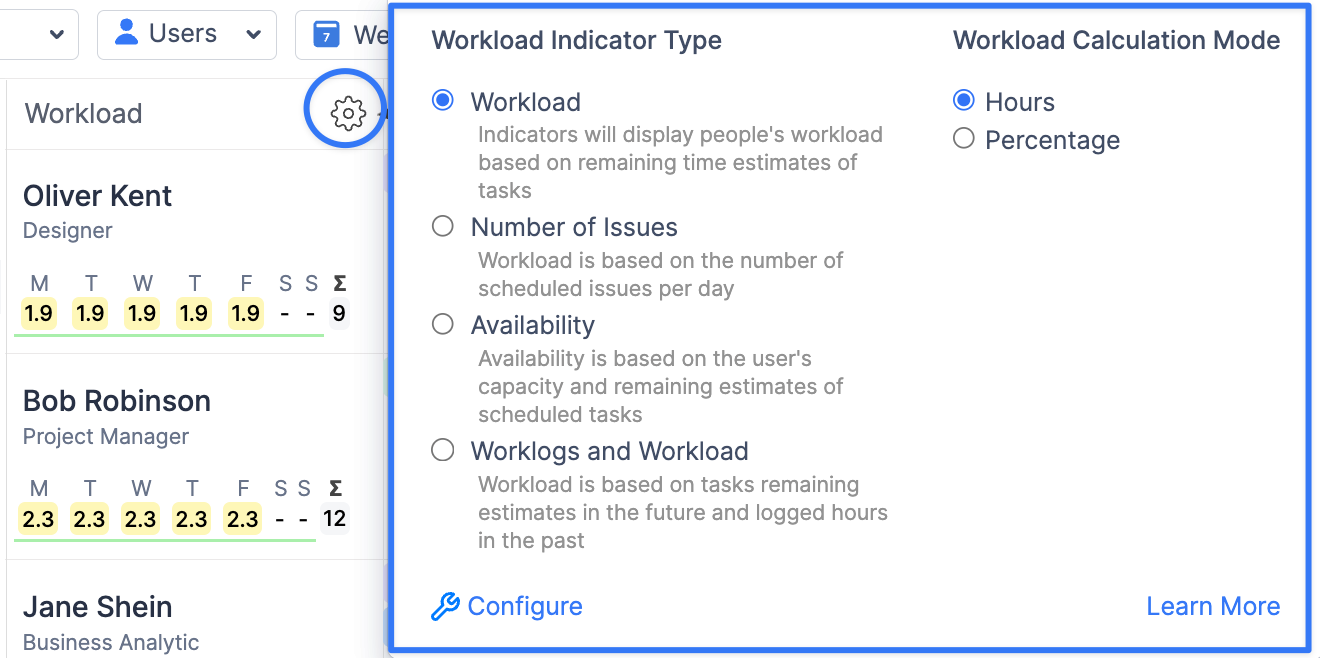
See Workload Indicator for all available modes, calculations, and configuration options.