
ActivityTimeline allows you to import events from a CSV file and recreate them on the timeline. This can be useful when moving event data to ActivityTimeline Cloud or when multiple events need to be added at once.
Enable Event Import
The CSV import option is available through ActivityTimeline’s Custom Functionality settings.
To enable it:
-
Go to Configuration → Advanced Settings → Custom Functionality.
-
Enter the following custom functionality key:
IMPORT_EVENTS -
Apply the change.
-
Go to Configuration → Events → Import Events.
The Import Events option will now be available.
Prepare the CSV File
Prepare a CSV file containing the events you want to import.
The CSV should use the following columns:
|
Column |
Description |
|---|---|
|
Username |
Jira username/account associated with the event. |
|
Event Type |
ActivityTimeline event type, for example |
|
Start Date |
Event start date in |
|
End Date |
Event end date in |
|
Project Key |
Jira project key associated with the event, when applicable. The field can be left empty if the event is not linked to a project. |
|
Hours |
Number of hours for the event, when applicable. |
|
Title |
Event title or description displayed in ActivityTimeline. |
How to Get Jira User Information
If you need to identify users for the Username column, you can export the user list from Jira/Atlassian Administration.
For Jira Cloud:
-
Go to Atlassian Administration.
-
Select your organization.
-
Open Directory → Users.
-
Select Export users.
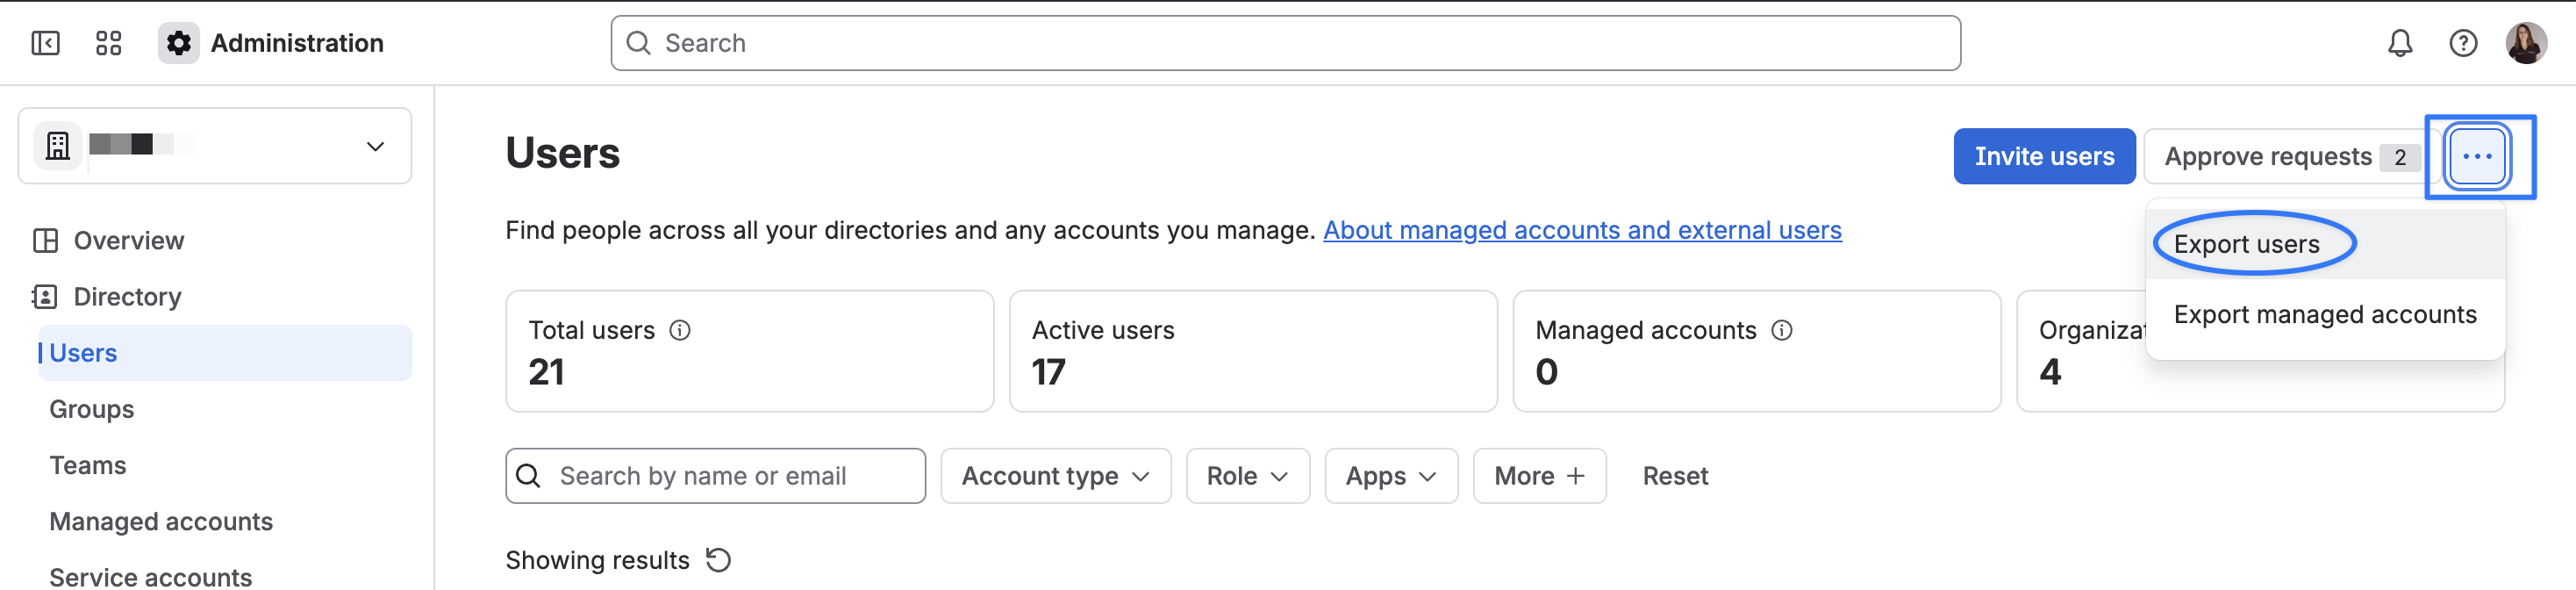
Depending on your Atlassian user management experience, the location of the Users page may differ slightly.
The exported file includes user information such as User ID, User name, and Email, which can be used to identify the users you need to include in the event import.
Important: Make sure the user identifier entered in the ActivityTimeline import file corresponds to the same Jira user in the destination instance.
CSV Example
Username,Event Type,Start Date,End Date,Project Key,Hours,Title
admin,Vacation,2022-03-28,2022-03-29,,,My Vacation time
admin,Booking,2022-03-30,2022-03-30,,4,Project Reservation
In this example:
-
A Vacation event is created for March 28–29.
-
A Booking event is created for March 30 with a duration of 4 hours.
Fields that are not applicable to a particular event can be left empty.
Attached example sample-events.csv .
Import Events
Once the CSV file is prepared:
-
Go to Configuration → Events → Import Events.
-
Select the prepared CSV file.
-
Start the import.
-
After the import is complete, review the imported events on the ActivityTimeline timeline.
The events from the CSV file will be recreated in ActivityTimeline according to the provided user, event type, dates, and other event details.
Before Importing
We recommend checking the CSV file before starting the import to make sure that:
-
User identifiers correspond to users available in ActivityTimeline.
-
Event type names correspond to the event types configured in ActivityTimeline.
-
Dates use the
YYYY-MM-DDformat. -
Numeric values in the Hours column contain only the expected number of hours.
-
Optional fields are left empty rather than populated with unrelated values.
For the safest migration, consider testing the import with a small number of events first before importing the complete dataset.