
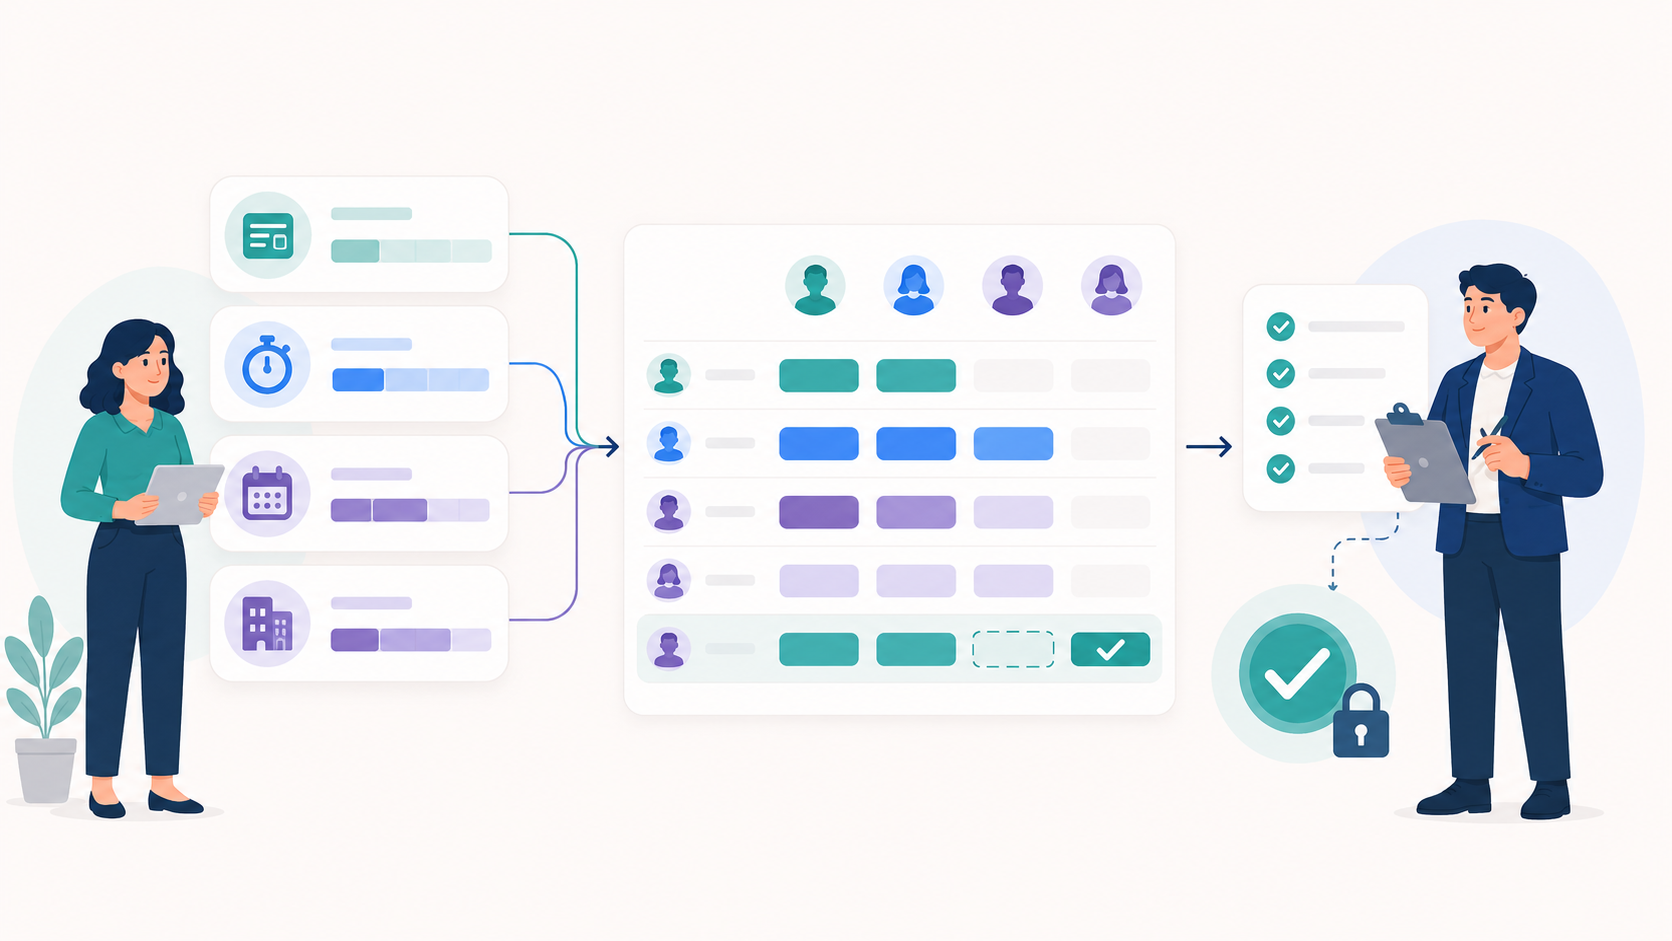
The Situation
Employees work on Jira issues as well as meetings, training, support, administrative work, and other activities that may not be represented by Jira tasks.
Managers need to confirm that all required hours have been recorded, worklogs contain the necessary details, and approved time can no longer be changed unexpectedly.
Without a consistent workflow, missing hours and incorrect worklog details may only be discovered when the data is needed for billing, payroll, reporting, or project analysis.
The Primary Goal
Capture a complete record of Jira and non-Jira work, identify missing or incorrect hours, approve verified worklogs, and optionally close completed reporting periods.
What You’ll Use
|
Feature |
Purpose |
|---|---|
|
Review assigned work and log time |
|
|
Record time manually or in real time |
|
|
Capture internal or non-Jira activities |
|
|
Include meetings from Outlook or Google Calendar |
|
|
Add business context to logged time |
|
|
Find missing hours and track approval progress |
|
|
Review logged time across users and periods |
|
|
Inspect, edit, and approve individual worklogs |
|
|
Prevent changes after the reporting deadline |
Before You Begin
Make sure that:
-
time tracking is enabled;
-
users have accurate capacity;
-
users responsible for approving worklogs have the appropriate ActivityTimeline roles ;
-
employees have permission to log work in Jira.

Phase 1: Configure the Timesheet Workflow
Complete the following configuration before employees begin logging time.
Step 1: Configure Approvals and Period Closure
If worklogs need to be reviewed and approved, go to:
Configuration → Timesheets Configuration → Timesheet Approval Settings
Enable the required approval workflow and decide who will be responsible for approving worklogs.
Assign the appropriate ActivityTimeline role to each approver. Worklog approval is available to roles such as:
-
Administrator;
-
Manager;
-
Power Team Lead;
-
Team Lead.
If finalized time must be protected from later changes, you can also configure:
-
Time Tracking Period: Weekly or Monthly;
-
Time Logging Grace Period: how long users can add or correct time after the period ends;
-
Time Tracking Period Closure: whether completed periods should close automatically.
Important Limitation
Period closure works only with Jira issue worklogs.
When period closure is enabled:
-
Treat Booking Items as Worklogs is disabled;
-
treating external calendar events as worklogs is disabled.
Decide whether period closure is required before configuring Bookings and calendar events as time sources.
Learn more: Timesheet Approval Settings
Step 2: Decide How Different Types of Work Will Be Recorded
Define how employees should capture each type of work.
Jira Work
Employees log time against Jira issues from Jira or ActivityTimeline Workspace.
Internal and Non-Jira Work
For meetings, training, administration, interviews, and other internal activities, choose one of the following approaches:
-
create a Jira issue and log time against it;
-
use Booking events and include them in Timesheets;
-
import external calendar events;
-
ask employees to log this time manually against an appropriate Jira issue.
Configure Booking Events
To include past Booking hours in Timesheets, enable:
Configuration → Timesheets Configuration → Treat Booking Items as Worklogs
Individual Booking-based event types can be configured as Not a Worklog when they should affect planning capacity without being counted as worked time.
For example:
-
Training can count as worked time.
-
A tentative resource reservation can remain a planning item only.
Configure External Calendar Events
Employees can connect Outlook, Google Calendar, or another supported calendar.
Administrators can choose whether imported events should be:
-
automatically treated as worklogs;
-
displayed for planning purposes only.
Use automatic handling when all imported meetings should count as worked time.
Use manual logging when employees need to decide which meetings should be recorded and which Jira issue they belong to.
Learn more: Worklog Settings for Calendar and Booking Events
Step 3: Configure Worklog Categories and Attributes
Configure Categories and Attributes before employees start logging time so that the required fields are available from the beginning.
Worklog Categories
Categories can distinguish between different types of time, such as:
-
Billable;
-
Non-Billable;
-
Development;
-
Support;
-
Internal;
-
Training.
Employees select the relevant category when logging work. Managers can later filter and group Timesheets by Category.
Worklog Attributes
Attributes can capture additional business details, such as:
-
Client;
-
Cost Center;
-
Work Type;
-
Location;
-
Internal Order;
-
Chargeback Category.
An attribute can be configured as:
-
Required: the user must complete it before saving the worklog;
-
Optional: the user can add it when relevant;
-
Hidden: it is unavailable for new worklogs, while historical values remain preserved.
Use required attributes only for information that is genuinely necessary. Too many mandatory fields can make daily time logging unnecessarily difficult.
Learn more:
Phase 2: Capture Complete Working Time
Once the workflow is configured, employees can begin recording their time.
Step 4: Log Jira Work from Workspace
Open ActivityTimeline → Workspace to review scheduled work and record time against Jira issues.
Employees can:
-
click Log Work in the top toolbar;
-
open a scheduled issue and select Log Work;
-
click a day in the Daily Logged Hours chart;
-
use the My Logged Hours table;
-
start and stop the Timer;
-
create or resize a worklog on the timeline.
When logging time, provide:
-
the Jira issue;
-
the date;
-
the time spent;
-
a work description, if required;
-
the appropriate Category;
-
any required Attributes.
The worklog is synchronized with Jira. The issue’s Remaining Estimate is updated according to the configured Jira time-tracking behavior.
Learn more: Log Work in Workspace
Step 5: Capture Non-Jira Work
Employees should also record meetings, training, administration, and other activities according to the process selected during configuration.
Depending on that process, the time may be captured through:
-
Booking events;
-
imported calendar events;
-
manual worklogs against internal Jira issues.
Employees should understand which activities are recorded automatically and which must be logged manually. This prevents calendar events or Bookings from being counted twice.
Phase 3: Review and Approve Timesheets
Step 6: Let Employees Check Their Own Timesheets
Before managers review the reporting period, employees should confirm that their time is complete.
Open ActivityTimeline → Timesheets → Progress and select the Timesheet Progress template.
Configure:
-
Period: the current week or month;
-
Teams / People: Only Me;
-
any relevant project or Category filters.
Employees should check for:
-
days with missing hours;
-
incorrect dates;
-
duplicate entries;
-
work logged against the wrong issue;
-
missing descriptions, Categories, or Attributes;
-
meetings or internal work that has not been included.
Employees can return to Workspace or open the Worklog Panel to correct their entries.
Step 7: Find Missing Time Across the Team
Managers can use Progress Timesheets to review the whole team.
Select:
-
Period: the required week or month;
-
Teams / People: the relevant team;
-
Template: Timesheet Progress.
The report helps identify:
-
users who logged all required hours;
-
users with incomplete timesheets;
-
users who logged more than their expected capacity;
-
non-working days affecting required hours.
If approvals are enabled, use the Approval Progress template to compare logged and approved hours.
This allows managers to focus on incomplete periods instead of reviewing every worklog immediately.
Learn more: Progress Timesheets
Step 8: Review and Correct Worklogs
Use Timeline Timesheets to review how time is distributed across users, projects, issues, Categories, or other dimensions.
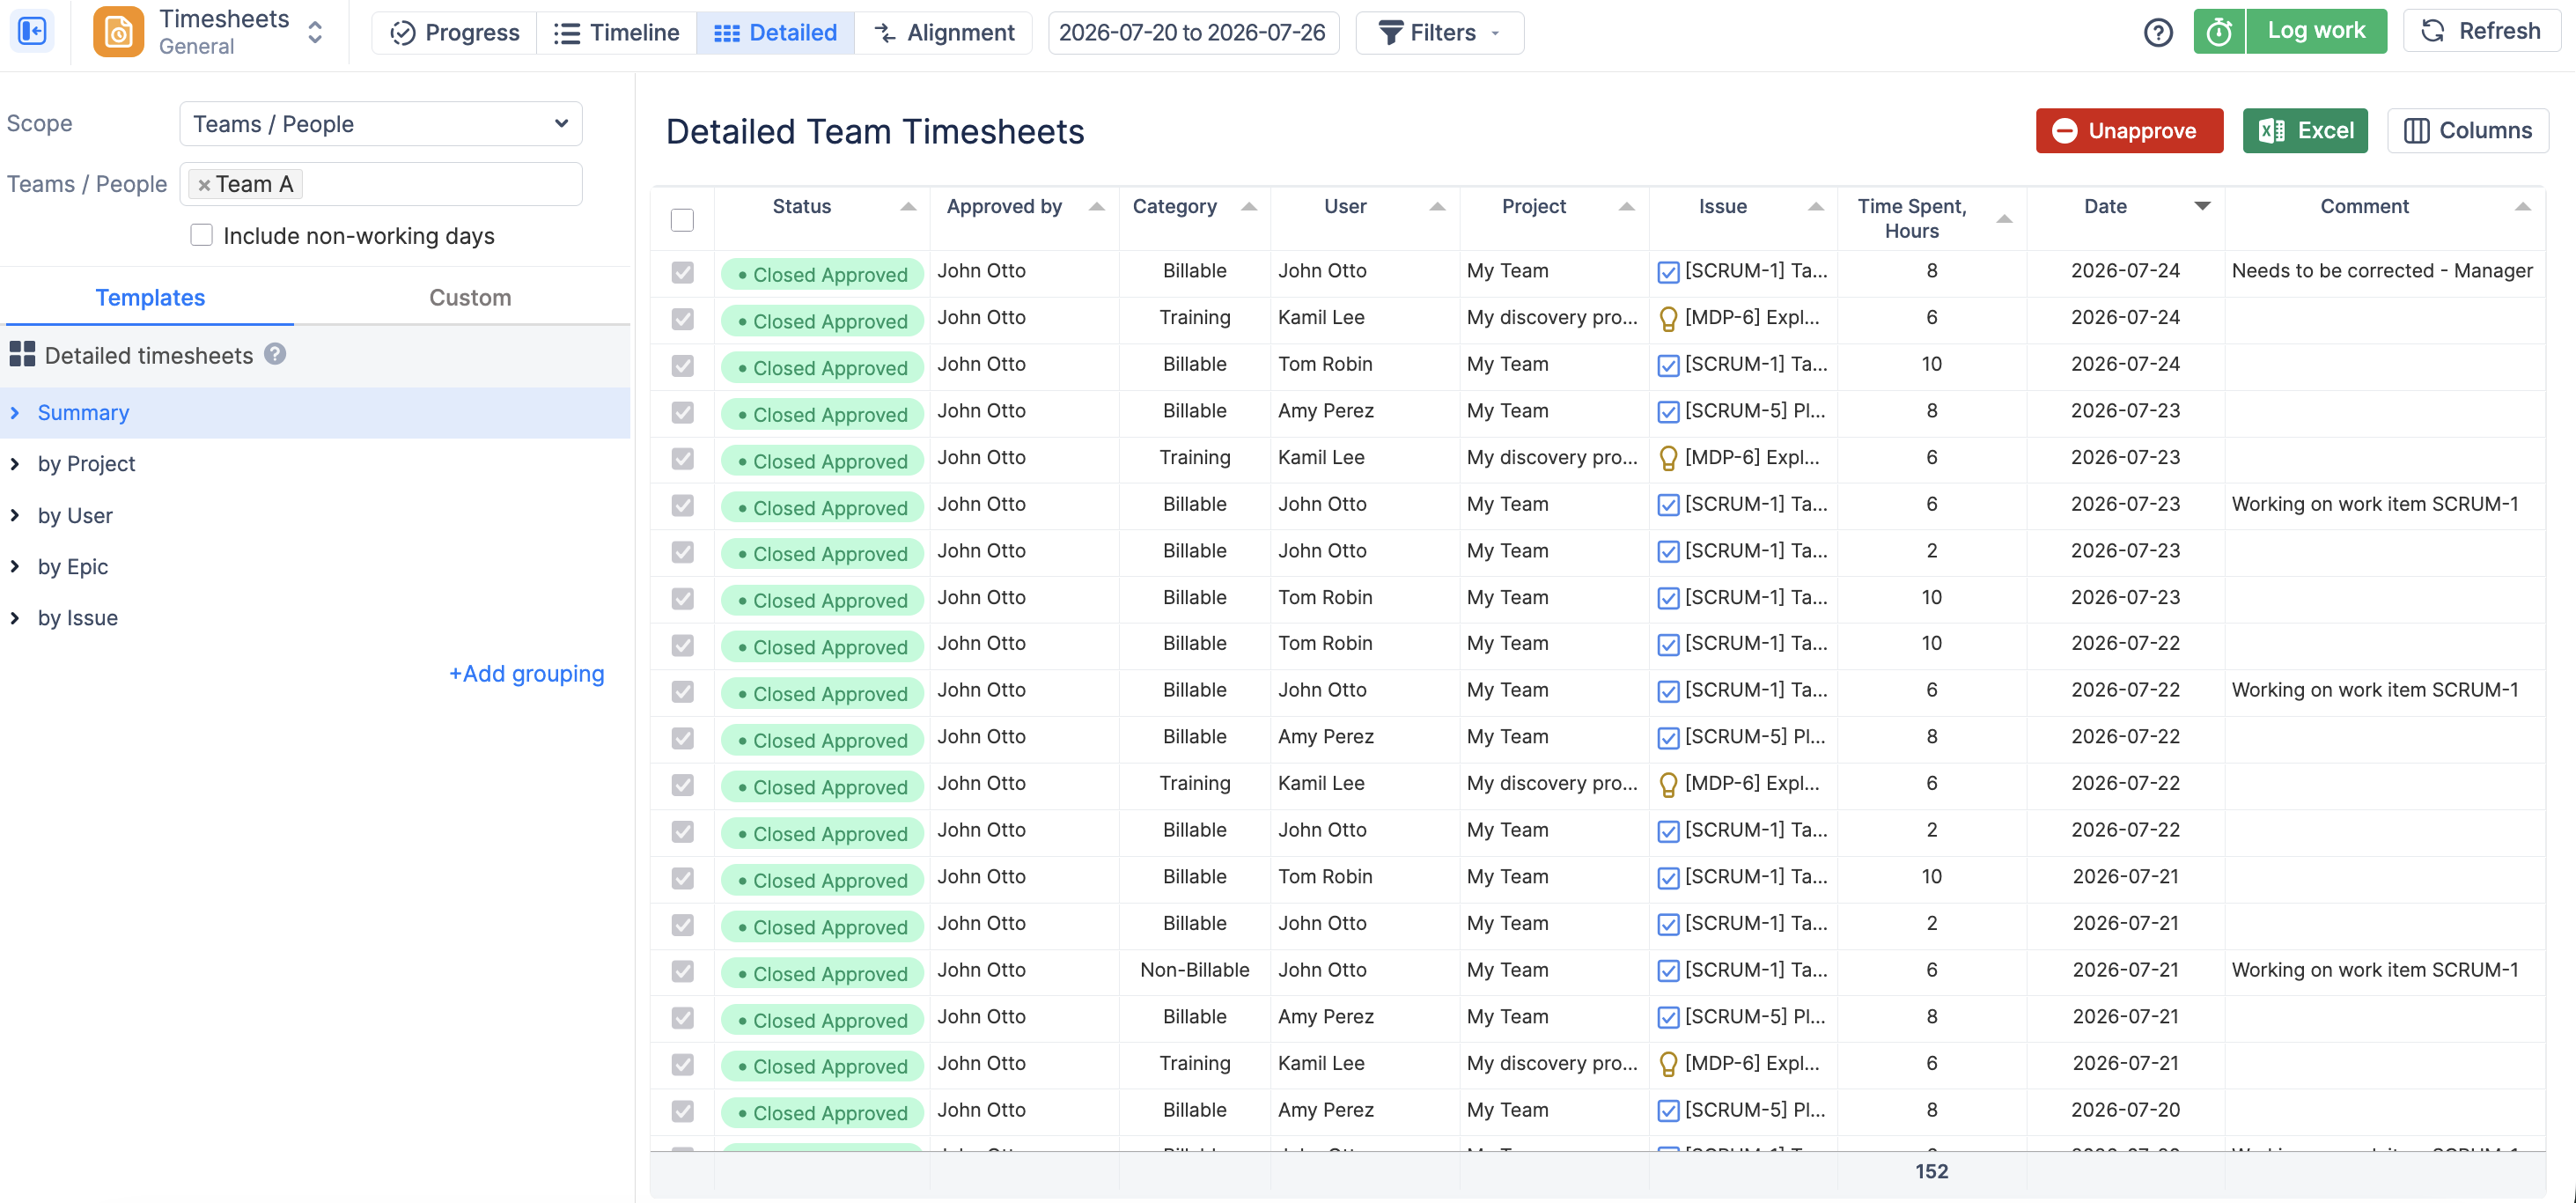
For more detailed verification, open Detailed Timesheets.
Review information such as:
-
user;
-
project and issue;
-
date;
-
time spent;
-
work description;
-
Category;
-
Worklog Attributes;
-
approval status.
Click a worklog to open the Worklog Panel.
Depending on permissions, authorized users can:
-
change the date or time spent;
-
correct the description;
-
update the Category or Attributes;
-
approve or unapprove the worklog.
If information is unclear, ask the employee to correct the entry before it is approved.
Step 9: Approve Verified Worklogs
Once a worklog has been verified, an authorized user can approve it.
Approvers can:
-
approve an individual worklog from the Worklog Panel;
-
select and approve several worklogs in bulk;
-
filter Timesheets by approval status;
-
see who approved each worklog;
-
unapprove a worklog when corrections are required and the period remains open.
Once approved, the worklog is locked and cannot be edited by the employee.
After completing the review, return to Progress Timesheets → Approval Progress to confirm that all expected hours have been approved.
Step 10: Close the Reporting Period
If period closure was configured, verify Approval Progress before the grace period ends.
Once the reporting period closes, users can no longer create or modify worklogs within it.
Closing a period also locks unapproved worklogs. Managers should therefore resolve missing or incorrect entries before the closure date.
Expected Result
After completing this workflow, you will have:
-
time-tracking rules configured before employees begin logging;
-
Jira and non-Jira work captured consistently;
-
worklogs enriched with the required business details;
-
missing hours identified before the reporting deadline;
-
incorrect entries reviewed and corrected;
-
verified worklogs approved and locked;
-
completed reporting periods protected from later changes;
-
reliable data for operational, customer, and financial reporting.